
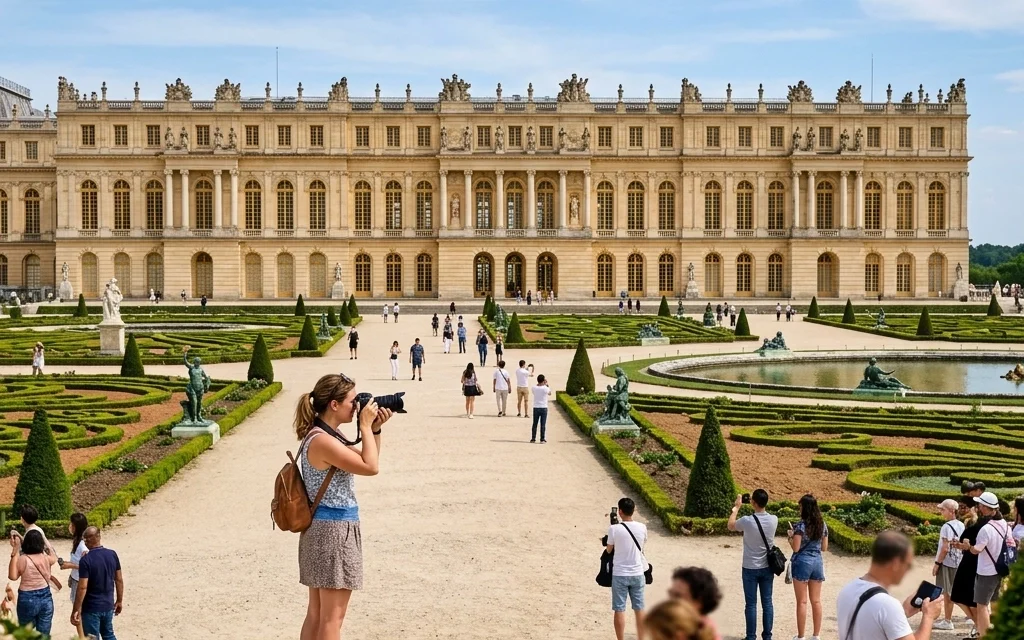
So, you’ve finally made it to the Palace of Versailles. You’re standing where kings and queens once lived, ready to capture the opulence that defined an era. You’ve got your camera, your fancy lenses, and a vision of the perfect Instagram feed. But then you walk inside and realize, so does everyone else.
Versailles is one of the best photography locations in the world, but it is also one of the most challenging. Between the crushing crowds, the strict security rules, and the tricky lighting of the Hall of Mirrors, it’s easy to walk away with a memory card full of blurry tourists and blown-out windows.
It’s 2026, and while the palace hasn't changed much in 400 years, the way we photograph it has. At Photoguides, we want to make sure you aren't "that person" fumbling with settings while a tour group of fifty people breathes down your neck.
Let’s break down the seven most common mistakes photographers make at Versailles and how you can avoid them to get those portfolio-worthy shots.
1. You’re Sleeping In (The "9 AM or Bust" Rule)
If you roll up to the gates at 11:00 AM, you’ve already lost the battle. Versailles is a titan of tourism, and by mid-morning, the "photo spots" are essentially human parking lots.
The biggest mistake you can make is arriving too late. To get those clean, empty-hallway shots, you need to be at the gates before they open at 9:00 AM. In 2026, the crowds are more organized but no less dense. Aim to be among the first few people through the security line.
Pro Tip: Head straight for the Hall of Mirrors the moment you get inside. Most people linger in the first few rooms. If you run (okay, walk very quickly and respectfully) to the Hall of Mirrors first, you might get a glorious 60 seconds of near-emptiness.
To make sure your logistics are handled so you can focus on the light, book your priority access tickets here to skip the worst of the lines.

2. Bringing a Tripod (Don't Be That Person)
I get it. You want that tack-sharp long exposure of the royal chapel. But here is the reality check: tripods are strictly forbidden inside the Palace. If you try to bring one in, security will make you check it at the cloakroom, and you’ll waste twenty minutes of prime shooting time.
In 2026, camera stabilization technology is better than ever, but you still need a plan. Instead of a tripod, practice your "ninja stance." Brace your body against a wall or use a marble railing to stabilize your camera.
If you’re wondering what else you should (or shouldn’t) pack for a trip like this, check out our guide on essential photography gear. Keeping your kit light and mobile is the key to surviving Versailles.
3. Relying on Your Camera’s Auto Mode
Versailles is a nightmare for your camera’s internal light meter. You have dark, moody wood paneling right next to massive windows flooding the room with bright daylight. If you stay in Auto mode, your camera is going to get confused, leaving you with either a "black hole" interior or a "nuclear explosion" window.
Since flash photography is strictly prohibited (and honestly, it looks terrible on gold leaf anyway), you need to get comfortable with manual settings. Don't be afraid to crank your ISO up to 800 or 1600. Modern mirrorless cameras handle noise beautifully, and a little grain is better than a blurry photo.
For a deeper dive into mastering these settings before you hit the palace floor, take a look at our Mastering Photography: The Ultimate 2026 Guide for Every Skill Level. It’ll give you the foundation you need to handle high-contrast environments like this.

4. Choosing the Wrong Focal Length
Versailles is massive. The ceilings are high, the halls are long, and the gardens go on forever. If you show up with only a 50mm prime lens, you’re going to feel very claustrophobic.
One of the most common mistakes is not going wide enough. To capture the true scale of the King’s Grand Apartment or the Hall of Mirrors, you really need something in the 16mm to 24mm range (on a full-frame sensor). This allows you to include the intricate ceiling murals and the polished floors in a single frame.
On the flip side, when you head out to the gardens, a telephoto lens (like a 70-200mm) is your best friend. It allows you to compress the distance between the fountains and the palace, creating a much more dramatic "royal" feel. If you're looking for more gear insights, I often share my personal kit favorites over at Shut Your Aperture.
5. Ignoring the "Dynamic Range" Trap
The Hall of Mirrors is the crown jewel of Versailles, but it’s also a technical trap. You have 17 massive windows on one side and 17 matching mirrors on the other. The light is bouncing everywhere.
If you expose for the gold statues, the windows will blow out to pure white. If you expose for the gardens outside the windows, the interior will be pitch black. The secret? Bracketing.
Take three or five shots at different exposure levels and blend them later. This is the only way to truly capture the detail in the gold leaf and the blue of the sky simultaneously. If you want to see how these techniques look when applied to fine art, you can check out some of my architectural work at Edin Fine Art.

6. Forgetting to Look for Symmetry
The architects of Versailles were obsessed with symmetry. Everything is balanced, aligned, and centered. If your photo is even slightly off-center, the whole image will feel "wrong" to the viewer.
Take an extra three seconds to line up your shot. Use the floor tiles as a guide: they are usually perfect grids. Center your camera exactly in the middle of the hallway. If you’re struggling with composition, try to find leading lines in the balustrades or the rows of chandeliers.
Symmetry is what makes Versailles one of the best photography locations for architectural enthusiasts. When you nail the alignment, the photo takes on a regal, professional quality that stands out from the thousands of crooked snapshots taken every day. I’ve written more about finding these perspectives on my personal blog at Edin Chavez Blog.
7. Skipping the Polarizer in the Gardens
Once you escape the palace and head into the gardens, you’re faced with a new set of challenges: water and glare. Between the Latona Fountain and the Grand Canal, there is a lot of reflective surface area.
Many photographers forget to use a circular polarizer. In the gardens, a polarizer is essential for:
- Cutting the glare off the water so you can see the reflections of the statues.
- Making the sky a deeper, more dramatic blue.
- Bringing out the rich greens of the perfectly manicured hedges.
The gardens are sprawling, so make sure you wear comfortable shoes. If you're planning a full day of it, you might even want to look into the photography booking experience options to see if a guided photo tour might help you find the hidden groves most tourists miss.

Making the Most of Your 2026 Visit
Versailles is more than just a building; it’s a masterclass in light, shadow, and ego. To capture it well, you have to be more than just a tourist with a camera: you have to be a strategist.
Plan your visit, get there early, and respect the rules of the house. No flash, no tripods, just you and your eye for detail. Whether you are shooting on a high-end mirrorless setup or the latest 2026 smartphone, these principles remain the same.
If you’re looking to sharpen your skills before your European tour, don’t forget to check out our educational category for more tips on lighting and composition. And if you’re just starting your photography journey, our Mastering Photography guide is the perfect place to build your foundation.

Quick Versailles Photography Checklist:
- Arrival: 8:45 AM (Gates open at 9:00 AM).
- Tickets: Pre-booked via Viator.
- Lens: 16-35mm for interiors, 70-200mm for gardens.
- Settings: ISO 800+, Aperture f/4 or wider for interiors.
- Filter: Circular Polarizer for the gardens.
- Mindset: Patient, respectful, and ready for crowds.
Versailles can be overwhelming, but with the right approach, you'll bring home images that do justice to the "Sun King" himself. Now get out there and start shooting!


