
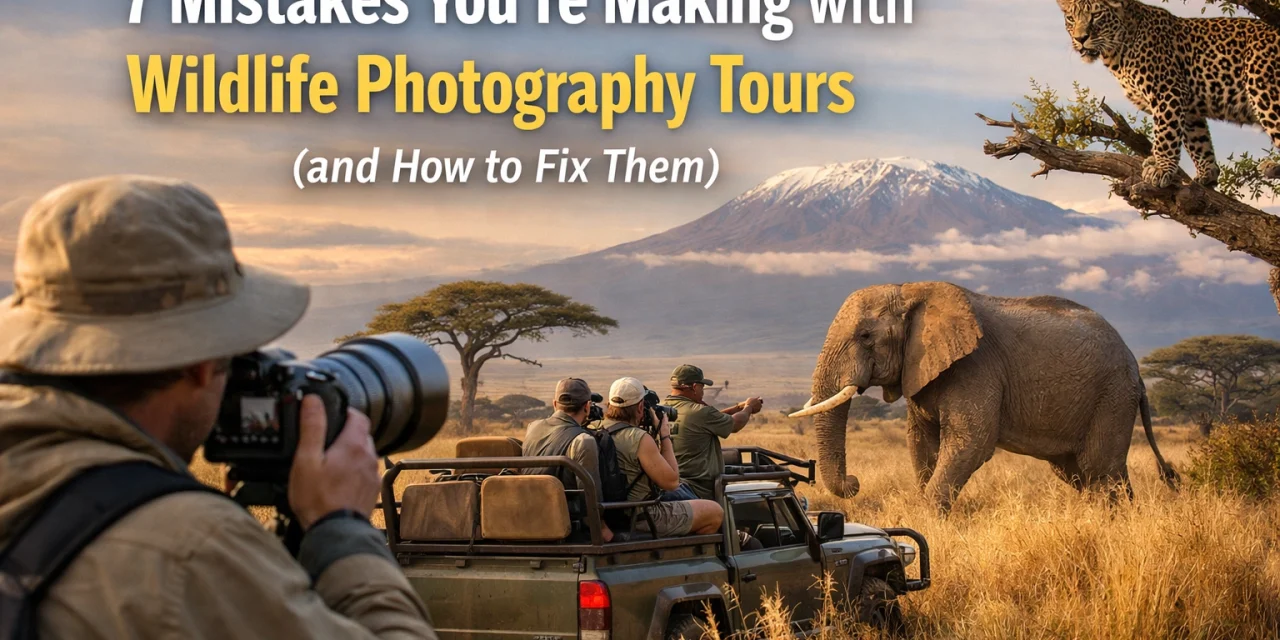
Booking a wildlife photography tour is a massive milestone for any photographer. Whether you’re heading to the heart of the Amazon or the sun-drenched wetlands of Florida, there is an electric feeling that comes with knowing you’re about to see nature at its most raw. At Photoguides, we see a lot of photographers: from beginners to seasoned pros: invest a lot of time and money into these trips, only to come home feeling like they missed the "shot of a lifetime."
The truth is, wildlife photography is one of the most challenging niches in the industry. It’s unpredictable, the lighting is often harsh, and your subjects don't exactly take direction well. However, most of the frustrations photographers face aren't actually caused by the animals; they are caused by common mistakes in preparation and technique.
If you’re planning a trip soon, specifically to a bird-heavy paradise like the Florida swamplands, you’ll want to check out our Everglades Photography Guide to ensure you’re prepared for the specific challenges of that environment. But first, let’s break down the seven biggest mistakes you might be making on your wildlife tours and how to fix them before you head out.
1. Using a Shutter Speed That’s Just "Fast Enough"
The most heartbreaking thing for any wildlife photographer is getting home, opening a photo on a large monitor, and realizing that the bird’s eye or the predator’s paw is slightly soft. Usually, this happens because the shutter speed was too slow to freeze the action.
Many photographers stick to the old rule of "1 over the focal length," but with modern high-resolution sensors, that’s rarely enough. If you’re shooting a stationary heron, 1/125th of a second might work. But if that heron suddenly takes flight or strikes at a fish, you need serious speed.
The Fix: Don’t be afraid to push your ISO to get a faster shutter speed. For fast-moving subjects like hummingbirds or birds in flight, aim for 1/3200 sec or higher. For general wildlife movement, 1/1600 sec is a safe baseline. Modern cameras handle noise incredibly well, and a slightly grainy sharp photo is always better than a clean, blurry one.
 1")
2. Missing Sharp Focus on the Eyes
In wildlife photography, the eyes are everything. If the eyes aren't sharp, the photo is almost always a "reject." A common mistake is letting the camera’s multi-point autofocus choose where to lock on. Often, it will grab the wing of a bird or the shoulder of a mammal because those parts are closer to the lens.
The Fix: If your camera has Animal Eye-AF, use it. It’s a game-changer for tours where action happens fast. If you’re shooting with an older body, use a single focus point and place it directly on the eye. When you're dealing with large birds: something we cover extensively in our bird photography tips: make sure the focus hasn't drifted to the tip of the beak or the wing. You can learn more about perfecting your focus in our educational category.
3. The "One Lens" Trap
It’s tempting to pack your biggest, heaviest 600mm prime lens and call it a day. While reach is vital, being over-prepared for distance and under-prepared for proximity is a major error. We’ve seen photographers on tours miss incredible moments: like a curious predator approaching the vehicle or a rare bird landing on a nearby branch: simply because their lens was "too long" and they couldn't focus or frame the shot.
The Fix: Versatility is key. If you can, bring two camera bodies: one with your long telephoto and one with a medium zoom (like a 70-200mm or a 100-400mm). This ensures you can capture the action whether it’s 100 yards away or 10 feet away. If you’re still building your kit, check out our guide on essential photography gear to see what we recommend for field tours.
 2")
4. Mismanaging Your Exposure (The "White Bird" Problem)
Tour locations like the Everglades are famous for beautiful white egrets and spoonbills. However, if you rely on your camera’s automatic metering, you’ll likely end up with "blown-out" highlights: where the white feathers lose all detail and just look like a solid white blob. The camera sees the dark water or green foliage and tries to brighten the whole image, destroying the highlights on the animal.
The Fix: Learn to use and trust your histogram. Avoid letting the graph "hit" the right side. On a tour, I always recommend underexposing slightly (using exposure compensation) when shooting white subjects in bright sun. You can always bring up shadows in post-processing, but you can never recover detail from blown-out highlights. For a deep dive into mastering these tricky light situations, our Everglades Photography Guide provides specific settings for high-contrast environments.
5. Ignoring the Background
A magnificent leopard or a rare owl can be completely ruined by a bright white branch growing out of its head or a cluttered, distracting background. Beginners often get "tunnel vision": they are so excited to see the animal that they forget to look at the entire frame.
The Fix: Before you press the shutter, do a quick "perimeter check" of your viewfinder. Is there a distracting highlight in the corner? Is the horizon cutting through the animal’s neck? Often, moving your camera just a few inches to the left or right can completely change the background from "busy" to "creamy and professional." Bokeh is your friend, but a clean background is your best friend.
 3")
6. Waiting Until Home to Review Images
There is an old-school school of thought that says you shouldn't "chimp" (look at your screen) in the field. This is bad advice for a photography tour. If you wait until you get back to your hotel to see that your exposure was off or your sensor had a massive dust spot, it’s too late. The moment is gone.
The Fix: Review your images periodically throughout the day. Check your sharpness by zooming in on the eyes on your LCD. Check your histogram to ensure your whites aren't clipping. This allows you to make real-time adjustments. If you notice a technical error, you can fix it for the next encounter. If you're looking for more gear to help you stay sharp in the field, see our camera reviews 2024.
7. Crowding or Provoking the Subject
This is both a technical mistake and an ethical one. Some photographers feel they need to get as close as possible to get the shot, or they try to make noise to get a bird to fly. Not only does this stress the animal, but it often results in "flight" behavior that looks panicked and unnatural in photos.
The Fix: Be a ghost. Move slowly, keep your voice down, and respect the animal's space. Some of the best wildlife shots come from being patient and letting the animal become comfortable with your presence. When an animal is relaxed, you get to capture natural behaviors: hunting, preening, and nesting: that are far more compelling than a shot of a scared animal running away.
 4")
Preparation is the Ultimate Fix
The most successful photographers on our tours aren't necessarily the ones with the $15,000 lenses; they are the ones who have done their homework. They know how their camera behaves in low light, they understand the behavior of the animals they are tracking, and they have a plan.
If you’re planning a trip to one of the most biodiverse locations in the United States, don’t leave your success to chance. The Florida Everglades offers some of the best bird and reptile photography on the planet, but it can be a nightmare to navigate if you don't know the "secret" spots or the right timing.
We’ve distilled years of professional experience into the Everglades Photography Guide. It covers everything from the best gear to bring to the exact locations where you can find those iconic shots without the crowds.
Wildlife photography is about being in the right place at the right time with the right settings. Fix these seven mistakes, grab your guide, and let’s go get some incredible images. For more tips on booking your next adventure, explore our photography booking experience page. We’re here to make sure your next tour is a resounding success.


