
We’ve all been there. You’ve just finished an incredible session: maybe a wedding, a fast-paced event, or a stunning landscape shoot in the Highlands. You’ve culled your images, done your post-processing in Lightroom, and exported a folder of beautiful, high-resolution JPEGs. They look amazing, but there’s a catch: each file is 25MB, and you have 150 of them to send to a client or upload to your portfolio.
Suddenly, your "quick" upload turns into a two-hour ordeal. Your website slows to a crawl, and your client is left waiting for a massive zip file to download. It’s frustrating, right? As photographers, we want the highest quality possible, but the web demands speed.
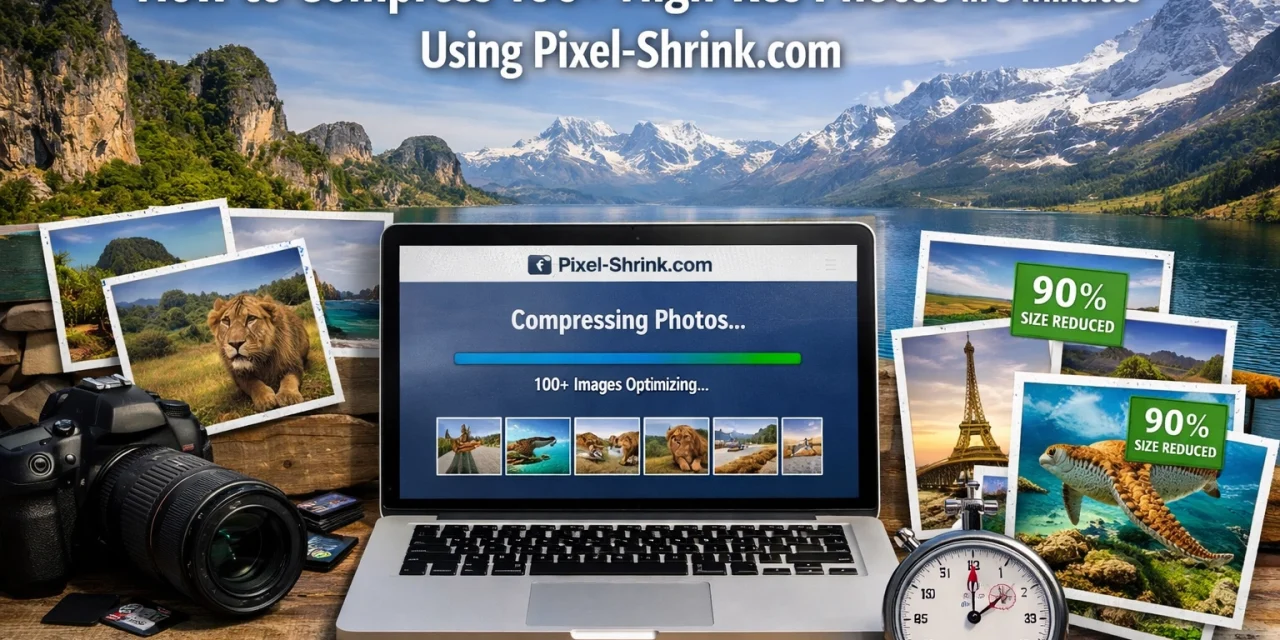
That’s where Pixel-Shrink.com comes in. I’ve spent years looking for tools that don't destroy my fine art details while keeping my site fast, and this is a game-changer. In this guide, I’m going to show you exactly how to compress over 100 high-res photos in under five minutes without losing that professional crispness.
Why Compression is Your Best Friend (Not Your Enemy)
A lot of photographers are scared of the word "compression." We associate it with blocky artifacts, muddy colors, and losing that "pop" we worked so hard to create. But modern compression: especially the kind used by Pixel-Shrink: is "smart." It identifies the data that the human eye can’t actually see and strips it away, leaving the visual integrity of the photo intact.
If you’re running a business, speed is money. Whether you’re showing off your latest work on Edin Chavez's Blog or managing a photography booking experience, a fast-loading page keeps clients engaged. If your site takes more than three seconds to load, you’re losing potential bookings.

The 5-Minute Workflow: Step-by-Step
This post is part of a series sponsored by our friends at proshoot.io, who understand that a photographer's workflow needs to be as streamlined as their gear. Here is how you tackle a massive batch of images in record time.
1. Prepare Your Batch
Before you head to the site, ensure your photos are in a single folder. While Pixel-Shrink handles massive files, it’s always good practice to export from Lightroom at the final dimensions you need. If it’s for a blog, 2000px on the long edge is usually plenty.
2. Upload to Pixel-Shrink.com
Open your browser and head to Pixel-Shrink.com. The interface is clean and distraction-free: exactly what we need when we’re on a deadline. You don’t need to click "upload" for every single file. Just select all 100+ images in your folder and drag them directly into the browser window.
3. Choose Your Format (JPEG, PNG, or WebP)
One of the reasons I love this tool is the flexibility.
- JPEG: The classic choice for most photography.
- PNG: Use this if you have graphics or logos with transparency.
- WebP: This is the secret weapon for SEO. WebP files are significantly smaller than JPEGs but maintain incredible quality. If you are uploading to a modern WordPress site or a portfolio, WebP is the way to go.
4. Let the Engine Work
Once you drop your files, the processing starts immediately. Because the tool uses parallel processing, it doesn’t wait for one photo to finish before starting the next. It tackles the whole batch at once. Even with 100+ high-res files, you’ll usually see the progress bar fly across the screen in two to three minutes.
5. Download the Optimized Batch
Once finished, you’ll get a summary of the space saved. It’s not uncommon to see a 70% or 80% reduction in file size. Click the download button to grab your new, lightweight images.

Maintaining Fine Art Quality
As someone who sells fine art prints, I am incredibly picky about image degradation. I’ve tested various tools, and the reason Pixel-Shrink stands out is how it handles gradients and high-contrast edges.
When you compress a high-res photo, you want to ensure the sky doesn't get "banding" and the sharp details of your essential photography gear stay sharp. Pixel-Shrink uses an algorithm that preserves the perceptual quality of the image while gutting the unnecessary metadata and redundant pixel data.
SEO and User Experience
If you’re a local pro, like an Atlanta event photographer, your website is likely your primary source of leads. Google loves fast websites. When you compress your images, you’re not just saving disk space; you’re telling search engines that your site is optimized for mobile users.
When I’m reviewing the camera reviews of 2024, I want the images to load instantly so I can compare sensors and sharpness. If the reviewer hasn't compressed their images, I’m probably going to bounce off the page. Don’t let that happen to your visitors.

Practical Use Cases for Photographers
You might be thinking, "I only compress images for my website." But there are so many other reasons to use a batch tool like this:
- Emailing Proofs: If you need to send a quick gallery to a client for selection, don't send 500MB of data. Shrink them down so they can view them easily on their phones.
- Social Media: Platforms like Instagram and Facebook have their own compression algorithms that can sometimes be quite "crunchy." By uploading a smaller, high-quality compressed file, you often get a better result than letting the platform do the work for you.
- Storage Management: Cloud storage isn't free. If you archive thousands of "web-ready" versions of your shoots, compressing them can save you gigabytes of space over time.
Pro Tips for Maximum Efficiency
If you want to really nail that 5-minute window, here are a few extra tips:
- Fiber Internet: While Pixel-Shrink processes things fast, your upload speed is limited by your ISP. If you're frequently doing high-volume work, a solid connection is worth the investment.
- Naming Convention: Rename your files before you upload them. Use descriptive keywords like "wedding-photography-insights-01" to help your SEO once the images are on your site. You can check out more on wedding photography insights to see how we structure our content.
- Check Your Work: Always do a quick spot check on 2 or 3 images from the batch to ensure the compression levels are to your liking. Usually, the "Auto" setting is perfect, but it’s good to be sure.

A Reassuring Final Thought
I know it feels counterintuitive to take a 42-megapixel file and "shrink" it. It feels like you're throwing away all that expensive sensor data. But remember: the high-res RAW files and master TIFFs are for your archives and for printing. The compressed versions are for the world to see.
By using a tool like Pixel-Shrink.com, you are actually presenting your work in the best possible light because you are ensuring that people actually see it. A beautiful photo that never loads because the file is too big is a photo that doesn't exist to your audience.
Whether you are building a list of reviews or sharing educational content, speed is your ally.
Summary: The 5-Minute Checklist
- Select: Grab your 100+ images.
- Drag: Drop them into Pixel-Shrink.com.
- Wait: Grab a coffee; it’ll take about 120 seconds.
- Download: Get your optimized zip file.
- Post: Upload to your site or send to your client with confidence.
Efficiency is the bridge between being a photographer and being a successful photography business owner. Tools like these, supported by innovators like proshoot.io, are what allow us to spend less time behind a screen and more time behind the lens.
If you're looking for more tips on how to streamline your business or looking for your next gear upgrade, feel free to browse our download section for resources that can help you level up your craft. Now, go get those files shrunk and get back to shooting!


