
We’ve all been there. You just finished an incredible shoot: maybe it was a high-energy event or a breathtaking wedding. You’ve spent hours in Lightroom or Capture One, tweaking the colors and perfecting the shadows. You’re ready to deliver the goods to your client. Then, you look at the folder size: 4.5 GB.
Your heart sinks a little. You know that uploading this to a gallery service or sending it via a transfer link is going to take forever. Worse, your client might struggle to download such massive files on a mobile connection. This is where the bottleneck happens, and for a long time, photographers just accepted it as part of the job. But it doesn't have to be that way.
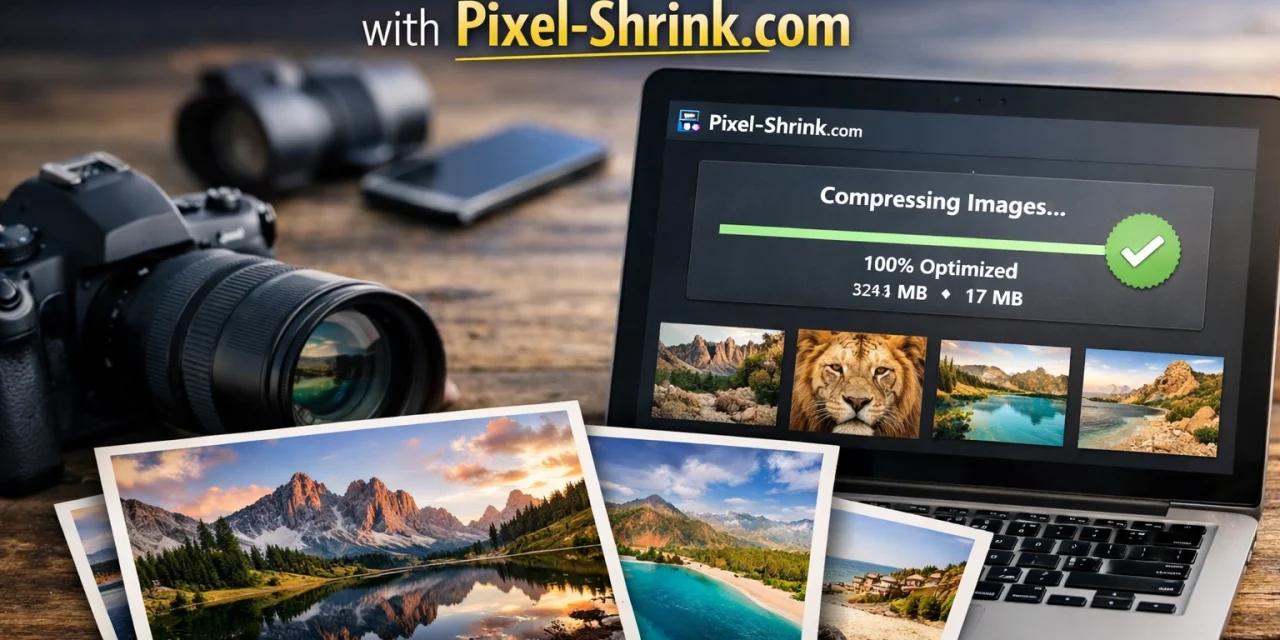
Today, I want to talk about a game-changer for your post-production workflow: Pixel-Shrink.com. This tool is sponsored by our friends over at proshoot.io, and it’s specifically designed to solve the "big file" problem without sacrificing the professional quality we work so hard to achieve. In fact, you can compress a full professional gallery in under five minutes. Let’s dive into how you can reclaim your time.
The Problem with Massive Files
As photographers, we are obsessed with detail. We want the highest resolution possible because it represents our craft. However, the reality of the digital world is that most clients aren’t printing billboard-sized posters of every single shot. They are sharing them on Instagram, viewing them on tablets, and sending them to family members.
When your files are unnecessarily large, you run into a few major issues:
- Slow Uploads: Even with fiber internet, uploading several gigabytes takes time.
- Storage Costs: Whether it’s Dropbox, Google Drive, or specialized gallery hosting, you pay for the space you use.
- Poor User Experience: If a client has to wait ten minutes to see a single preview image, the photography-booking-experience feels clunky instead of premium.
- SEO Lag: If you are putting these images on your own portfolio, heavy files will kill your page load speed, which Google hates.
Enter Pixel-Shrink.com
Pixel-Shrink.com isn't just another generic online compressor. It’s built with the photographer’s eye in mind. The goal is simple: reduce the file size by up to 80% while keeping the image looking identical to the original. This means your 15MB JPEGs become 3MB JPEGs, but when you zoom in to 100%, you still see the sharpness in the eyes and the texture in the fabric.

Step 1: The Batch Prep (1 Minute)
The secret to speed is batching. You never want to compress images one by one. Pixel-Shrink is designed to handle dozens, or even hundreds, of files simultaneously.
Before you even open the website, make sure your export settings in your editing software are optimized. I usually recommend exporting at 100% quality or close to it, then letting Pixel-Shrink do the heavy lifting of optimization. Once your folder of high-res JPEGs is ready, you’re halfway there.
If you are looking for tips on how to get the best raw files before you even start the compression process, check out some of our camera-reviews-2024 to ensure you're using the right gear for the job.
Step 2: Drag, Drop, and Walk Away (2 Minutes)
Open your browser and head to Pixel-Shrink.com. The interface is incredibly clean: no distracting ads or complicated menus. You literally just drag your entire gallery folder and drop it into the browser window.
Because the tool uses advanced algorithms to process the files locally or via optimized cloud nodes (depending on your settings), the actual "crunching" happens surprisingly fast. While the site is working, you can check out the latest industry news at shutyouraperture.com.
The beauty of this tool is that it doesn't just lower the quality slider across the board. It analyzes each image to see where data can be safely removed. Darker areas or repetitive textures (like a clear blue sky) are compressed more aggressively, while high-frequency details (like hair or eyelashes) are preserved.
Step 3: Fine-Tuning Your Settings (1 Minute)
While the batch is processing, you have a few choices to make. Pixel-Shrink allows you to decide what happens with your EXIF metadata.
- Stripping Metadata: This is great for privacy or for further reducing file size. If you don't need the camera model, lens info, or GPS coordinates attached to the image, strip it.
- Keeping Metadata: For professional galleries, I usually keep it. It helps with copyright and allows savvy clients to see the technical specs if they care.
You can also set a target file size or a percentage of reduction. For most professional work, I stick to the "Optimized" setting, which finds the perfect balance between size and clarity.

Why Quality Matters for Pro Galleries
I’ve seen some photographers get nervous about compression. They worry that "shrinking" a file means losing their artistic "soul." But technology has come a long way. Modern compression isn't like the old-school "Save for Web" settings that left artifacts all over the place.
If you’ve ever looked at the fine art prints on edinfineart.com, you know that quality is everything. While I wouldn't use high-compression for a 40×60 gallery wrap, for digital delivery and standard printing, Pixel-Shrink’s results are indistinguishable from the original to the naked eye.
Especially for wedding-photography-insights, where you might be delivering 800+ images, the difference in delivery speed is the difference between a happy client and a frustrated one.
The ROI of Speed
Think about your hourly rate. If you spend 20 minutes per shoot waiting for uploads, and you do 50 shoots a year, that’s nearly 17 hours of your life spent staring at a progress bar. By using Pixel-Shrink to cut your gallery sizes down, you aren't just saving disk space: you are buying back your time.
You could use those extra hours to get out and shoot more content, or maybe browse through essential-photography-gear to plan your next upgrade. Or, better yet, spend that time on blog.edinchavez.com learning how to market your business more effectively.

Final Thoughts: A Smoother Workflow
Professional photography is about more than just the click of the shutter. It’s about the entire experience you provide from the first contact to the final delivery. When you can send a link to a client and say, "Your gallery is ready!" and they can open it instantly on their phone without it lagging, you look like a pro.
Pixel-Shrink.com, sponsored by proshoot.io, is a tool that belongs in every modern photographer’s kit. It’s fast, it’s reliable, and most importantly, it respects the quality of your work.

Quick Tips for Success:
- Do a Test: Take one image, run it through Pixel-Shrink, and compare it side-by-side at 200% zoom. You’ll be amazed at how little changes visually.
- Organize First: Group your images by scene. Since Pixel-Shrink handles batch processing so well, having your portraits in one folder and your wide-angle landscapes in another allows the algorithm to work even more efficiently.
- Check Your Hosting: Some gallery hosts have a "per file" size limit. Using a compressor ensures you never hit those annoying caps.
Stop letting massive file sizes slow you down. Give Pixel-Shrink a try on your next project and see how it feels to deliver a full gallery in under five minutes. Your clients: and your hard drive( will thank you.)


