
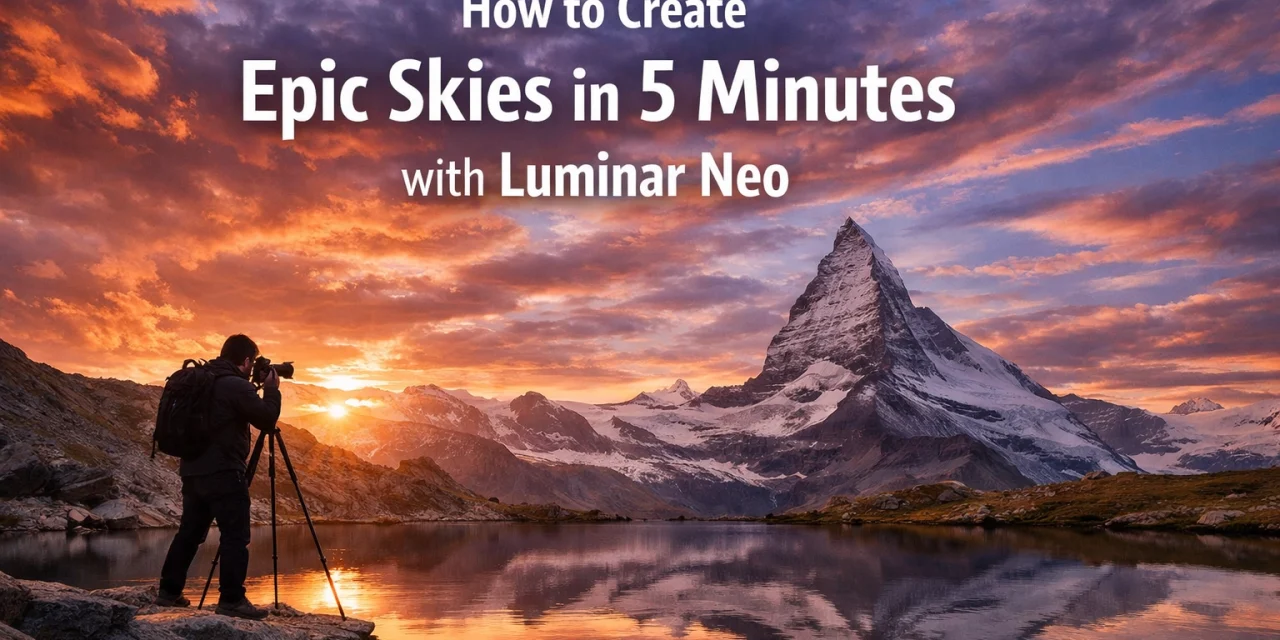
Category: Photo Guides
We’ve all been there. You spend hours planning a shoot, drive three hours to a remote location, and hike another two miles to the perfect vantage point, only to find the sky is a flat, uninspiring slab of gray. It’s the ultimate photographer’s heartbreak. You have a beautiful foreground, a compelling subject, and… a "blah" atmosphere that kills the mood.
In the past, fixing a boring sky meant hours of tedious masking in Photoshop, trying to get every leaf on every tree perfectly selected so the replacement didn't look like a cheap sticker. But things have changed. As part of our mission at Photoguides to make photography accessible and fun, I want to show you how to turn those missed opportunities into portfolio pieces.
Today, we’re looking at why Luminar Neo is the premier tool for this job. We aren't just talking about a simple "cut and paste." We are talking about a full-scene transformation powered by AI that respects the lighting, the reflections, and the soul of your original photo.
Why a Great Sky Matters (And Why It’s Okay to Fix It)
There’s often a debate in the photography community about "authenticity." Some purists believe if the sky wasn’t there when you clicked the shutter, it shouldn’t be there in the final edit. At Photoguides, our perspective is a bit more reassuring: photography is art. If you’re a journalist, keep it real. If you’re a creator, tell the story you felt in your heart, even if the clouds didn't cooperate that day.
A dramatic sky sets the emotional tone of your image. A vibrant sunset evokes warmth and hope; a moody, storm-tossed sky creates tension and drama. When the weather lets you down, Luminar Neo steps in to bridge the gap between what you saw and what you wanted to capture.
![A side-by-side comparison of a dull gray landscape transformed into a vibrant sunset with purple and orange clouds using Luminar Neo Sky AI tool.]
Step-by-Step: The 5-Minute Sky Transformation
The beauty of Luminar Neo is its efficiency. You don't need a degree in graphic design to get professional results. Here is the workflow I use when I’m working on shots for my own Fine Art collection.
1. Access the Sky AI Tool
Once you’ve imported your photo into the Edit workspace, head over to the Creative section on the right-hand panel. You’ll find Sky AI right at the top. This tool is the gold standard for a reason: it doesn't just overlay an image; it 3D-maps your scene to understand depth and distance.
2. Choosing the Right Sky
Click the Sky Selection dropdown. Luminar comes pre-loaded with a variety of high-quality skies, from soft blue mornings to dramatic sunsets. If you want to expand your library, you can check out our sky overlays to find unique textures that suit your style.
When picking a sky, look for lighting that matches the direction of the shadows in your original foreground. If the sun was behind you in the original shot, don't pick a sky with a massive sun directly in the center of the frame.
![A close-up of the Luminar Neo interface showing the Sky AI adjustment sliders including Horizon Position, Relight Scene, and Sky Global.]
3. The Secret Sauce: Relight AI
This is where the magic happens. Many sky replacement tools leave the foreground looking disconnected from the new sky. Luminar Neo uses Relight AI to analyze the colors of your new sky and "cast" that light back onto your foreground.
Adjust the Relight Strength slider until the colors of the ground match the colors of the clouds. If you’ve chosen a golden hour sky, your foreground should have that warm, amber glow. This is the difference between a "fake" look and a professional edit. For more gear and technique tips to get the best raw files to start with, I always recommend checking out Shut Your Aperture.
4. Refining the Horizon and Masking
Sometimes the AI needs a little nudge. Use the Horizon Position and Vertical Offset sliders to line things up perfectly. If you have trees or complex buildings, use the Mask Refinement section. The Global and Close Gaps sliders are incredibly helpful for ensuring the new sky "peeks" through the branches naturally without any weird halos.
5. Managing Reflections
If your photo has water: a lake, a puddle, or the ocean: you must address the reflection. Luminar Neo is smart enough to recognize water and mirror your new sky into it. Adjust the Reflection Amount to make it look realistic. Usually, reflections are slightly darker and less saturated than the sky itself, so don't be afraid to pull that slider back a bit for a more natural look.
![A coastal scene where a replaced bright blue sky is perfectly reflected in the ocean water, showcasing the AI reflection capabilities of Luminar Neo.]
Why Luminar Neo is Best in Class
You might be wondering why we recommend Luminar Neo over other software. Having reviewed dozens of platforms in our camera reviews 2024 section and beyond, it comes down to the "Intelligence" part of AI.
Most programs just mask and replace. Neo integrates. Its engine understands that if you put a dark storm sky into a bright beach photo, the sand needs to get darker and the shadows need to become more diffused. It saves you from having to manually dodge and burn for twenty minutes just to make the lighting look consistent.
Furthermore, it’s a non-destructive workflow. You can jump back and forth, tweak your essential photography gear choices in your head, and realize that maybe a different focal length would have worked: but at least the post-processing is a breeze.
Adding the Final Artistic Touch
Once your sky is set, I like to head over to the Atmosphere AI or Sunrays tool. Adding a bit of "Fog" or "Haze" near the horizon line can help blend the sky and the land even further. It mimics the natural atmospheric perspective we see in the real world.
If you're looking for more inspiration on where to take these epic shots, I’ve written extensively about my travels and photography spots over at Edin Chavez’s Blog. Whether it's a national park or an urban landscape, having a tool like Neo in your back pocket gives you the confidence to shoot even when the weather isn't "perfect."
![A dramatic landscape photo of a mountain range with a newly replaced celestial night sky full of stars and the Milky Way.]
Pro Tips for Sky Replacement
- Keep it Subtle: The best sky replacement is the one nobody knows happened. Avoid over-saturating the clouds.
- Match the Blur: If your foreground was shot at a shallow depth of field (like f/2.8), your sky should have a bit of blur too. Use the Sky Blur slider in the Sky AI settings.
- Grain Consistency: If your original photo is noisy or grainy, add a tiny bit of film grain to the sky to match. It glues the layers together.
Conclusion
Creating epic skies shouldn't be a chore. It should be the fun part of the process where you finally see your vision come to life. Luminar Neo makes this possible in under five minutes, allowing you to spend less time behind the computer and more time out in the field with your camera.
If you're just starting out or looking to upgrade your toolkit, I highly recommend downloading a trial or diving into the full version. It’s a game-changer for landscape and architectural photographers alike. For more educational content and deep dives into software, keep an eye on our educational category.
Go grab your camera, find a composition you love, and don't worry about the clouds. You’ve got the tools to make your own weather now. Don't forget to share your creations with the community at Photoguides: we love seeing how you transform the ordinary into the extraordinary!


