In the multifaceted world of travel photography, effective use of light serves as the backbone to crafting stunningly evocative images that capture the essence of the place and time. Whether the light source is natural or artificial, understanding how to manipulate and balance light is pivotal. The acquisition of such skill is no child’s play; it is an art that varies according to the time of day, landscape, and weather conditions. On the other hand, artificial light sources such as flashguns, and LED panels offer the convenience of control and flexibility, making them instrumental additions to a travel photographer’s toolkit.
Understanding Natural and Artificial Light
Illuminating Photography: The Quintessence of Natural and Artificial Light in Travel Photography
In the captivating realm of travel photography, nothing affects the overall look and feel of an image more than light. This magical yet universally misunderstood element imparts emotion, sets the mood, and dictates the story that the picture tells. Understanding the difference between natural and artificial light is crucial when creating compelling travel photographs.
Natural light is the gift that Mother Nature provides us, the photographers, every day. It involves sunlight, twilight, moonlight, or any light source diffused naturally in the environment. Natural light is a tour de force that presents itself unpredictively and it is this very unpredictability that makes photography a mesmerizing adventure.
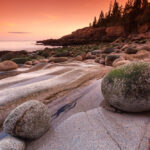
The mysticism of natural light comes from its ever-changing aspects. Depending on the time of day and photography location, it can vary from soft, warm hues during the “Golden Hour” to harsh, stark shadows at noon. Every hour brings unique nuances, highlighting vivid tones during sunrise and sunset, and showcasing subtle, cool palettes under overcast skies or moonlight. These variations contribute to creating images with depth and extensive visual interest.
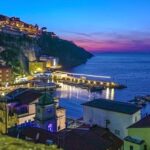
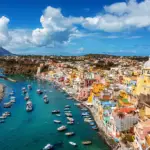
If seaside towns, sunlit dunes or silhouetted forest peaks are your subjects, then harnessing the transformative powers of natural light enhances the drama and instills a sense of realism.
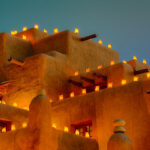
On the flip side, when Mother Nature is less generous, or for shooting indoor compositions like soulful cafes, bustling night markets, or ancient museums, artificial light is the artist’s wand. This consists of any human-made light source, including flash bulbs, continuous lights, LED panels, street lamps, or neon lights.
Artificial light provides a realm of control that natural light does not usually afford. It permits you to manipulate intensity, direction, and color tone according to the story you aim to tell. Versatile and reliable, artificial light can be moulded to fit any scene, allowing photographers to set the stage for their imagery, be it a lively tapas bar in Barcelona or an enchanting opera house in Vienna.
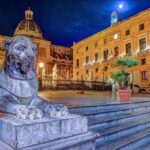
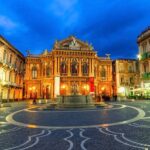
Furthermore, mastering artificial light is crucial when shooting nocturnal cityscapes, painting a picture with light trails, or capturing the deep, profound colors of a late-night Asian street food scene. It can add a dramatic contrast or a gentle glow, sculpt the scenes strikingly or accentuate the hidden depths, creating a world beyond what is visible to the naked eye.
In reflection, the dichotomy between natural and artificial light in travel photography is not a battle of supremacy, but rather a harmonious dance. A dance where both partners, with their unique strengths and characteristics, complement each other to create visually stunning travelogues. As a passionate traveler and avid photographer, unveiling the peculiarities of this dance dives you into an immersive experience, enabling you to capture not just visually enticing images, but also the character and the soul of every corner of the world you explore.

Mastering Light Composition
Harnessing light effectively is a key component in capturing stunning travel photographs. The challenge lies in using light to your advantage, whether it’s dappled sunlight filtering through the canopy of a forest, the warm glow of a quiet café, or the neon brilliance of a cityscape at night. With a discerning eye and a few handy techniques, you can master light usage to take your photography to a new level of depth and emotion.
Firstly, understanding the direction of light is crucial since it profoundly impacts the mood and depth of your photographs. The three primary light directions are:
- Front light: illuminates your subject evenly, but lacks drama.
- Backlight: while difficult to handle, creates a captivating silhouette effect, emphasizing the shapes and sizes of your subjects.
- Side light: on the other hand, offers a great middle ground, highlighting the textures and details of your subjects, giving your photo a three-dimensional feel.
Capturing shadows can also dramatically enhance your travel photography. Shadows are as important as light in compositions as they provide contrast, create depth, and intrigue the viewer with potential stories lurking in the obscurity. Illuminated subjects against dark backgrounds or dramatic long shadows cast by the lowering sun can turn ordinary scenes into extraordinary narratives.
Understanding and controlling exposure is a vital tool in composing light effectively. The exposure triangle – consisting of aperture, shutter speed, and ISO – dictates how light or dark an image will appear. A wider aperture, slower shutter speed, or higher ISO will increase exposure, brightening your image. Conversely, a narrower aperture, faster shutter speed, or lower ISO will decrease exposure, darkening your image.
The golden and blue hours yield some of the best natural lighting conditions for photography. The golden hour, happening shortly after sunrise and just before sunset, offers a warm, diffused light that can bathe your photos in a magical glow. The blue hour, on the other hand, takes place before sunrise or after sunset and presents a cool, serene ambiance that’s perfect for softer, moodier shots.
Incorporating reflective surfaces in your composition can open up an entirely new set of possibilities. Bodies of water, glass windows, polished floors, and metallic surfaces can reflect and refract light, adding extra visual interest and depth to your travel photography.
Finally, you shouldn’t shy away from harsh lighting conditions. Overcast days can provide diffused light that evenly lights the scene, reducing shadows and highlights. Shooting during midday, when shadows are at their most potent, can lead to dramatic and high-contrast photography if used thoughtfully.
Knowing how to appropriately use light can make all the difference in travel photography. By understanding how to manipulate both natural and artificial light sources, and by carefully observing how different types of light interact with your frame, you can enrich your work, ensuring each snapshot encapsulates the essence of every phenomenal place you visit. So, stretch the bounds of your creative imagination, immerse yourself in your surroundings, and use light to breathe life into your intriguing visual tales of adventure.

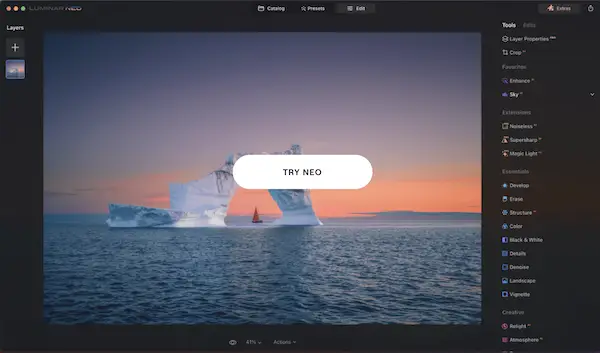
Utilizing Post-Production Light Editing
Now that you are familiar with how light plays an instrumental role in creating impactful travel photographs, let’s explore how post-production can further enhance your travel images, particularly focusing on lighting.
Undeniably, post-production is an essential part of travel photography. It allows unique opportunities for photographers to fine-tune, adjust, and rectify lighting conditions even after the click is captured. Let’s dive into how these techniques could be used to manipulate light in your travel shots.
Lightroom’s Graduated Filter
Travel photographers swear by Adobe’s Lightroom software to augment the finer details in their pictures. One of Lightroom’s tools, the graduated filter, is perfect for enhancing the lighting in sky regions or bodies of water. It allows you to work on the highlights, exposure, shadows, saturation, clarity, and sharpness of a specific area without altering the rest of the image.
HDR Technique
When dealing with outdoor shots, the disparity in lighting conditions can be challenging. Here, the HDR (High Dynamic Range) technique comes as a knight in shining armor. It involves capturing three different shots with varied exposure levels and then merging them into a single frame. This approach allows you to manage overly bright and overly dark areas by encompassing a wider spectrum of lighting conditions into a single frame.
Dodge and Burn Tools
Coming from traditional darkroom techniques, the dodge and burn tools of photo-editing software have been proven to sculpt and add depth to an image. Dodging lightens specific areas of your image, while burning enhances the dark tones. Careful use of these tools can dramatically increase the dimensionality and dramatic impact of your photographs.
Managing White Balance
While traveling, it’s common to shoot under different lighting conditions where your camera may incorrectly interpret light, giving you unwanted color casts. Editing software lets you adjust white balance in post-production, helping maintain the true colors of the image, allowing for better atmosphere and mood depiction.
Luminosity Masking
Luminosity masking is another technique photographers utilize to control light in an image. This technique enables selective editing of highlights, mid-tones, and shadow areas, ensuring you have full control over the three key elements of any photograph – the shadows, the mid-tones, and the highlights.
Vignetting
Last but not least, the vignetting technique can be used to direct viewer’s attention to the subject of the frame by darkening the image’s edges. This not only enhances the composition but also adds a vintage feel to the photograph.
Post-production can indeed seem like a daunting process, especially if you’re new to travel photography. But, once you’ve learned to harness its power, it can seamlessly enhance your photographs’ lighting, adding an extra layer of depth and feel to the stories captured within. So, dare to explore, experiment, and most importantly, enjoy the process of transforming good photos into phenomenal ones with the use of post-production techniques.

During our exploration of travel photography, we’ve dived deep into the art of playing with shadows and contrasts, enhancing the scene with different lines and framing techniques, and how these factors contribute tremendously to crafting narratives through images. Additionally, we’ve discovered the power of post-production software like Adobe Photoshop and Lightroom that empowers photographers to fine-tune their images, adjust color balance, and add filters to enhance visual impact. One must remember while wrapping up this quest of acquiring knowledge in this field, it is a combination of creativity, technical proficiency, and endless experimentation that leads to masterful travel photography.


