Over the years, mastering light has become a defining aspect of successful photography. In this post, you’ll discover the best techniques for harnessing both natural and artificial light to enhance your images. From the golden hour’s warm glow to the versatility of studio lighting, you’ll learn how to control light to make your photographs stand out. Whether you’re a novice or a seasoned photographer, understanding these principles can transform your approach to capturing stunning visuals.


Understanding Natural Light
A solid grasp of natural light can significantly enhance your photography. It’s necessary to recognize how sunlight changes throughout the day, impacting the mood, texture, and clarity in your images. Mastering natural light involves observing the qualities of light at different times, as it adds depth and emotion to your compositions. By learning to work with natural light, you can create stunning photographs that reflect the beauty of your surroundings.
The Golden Hour
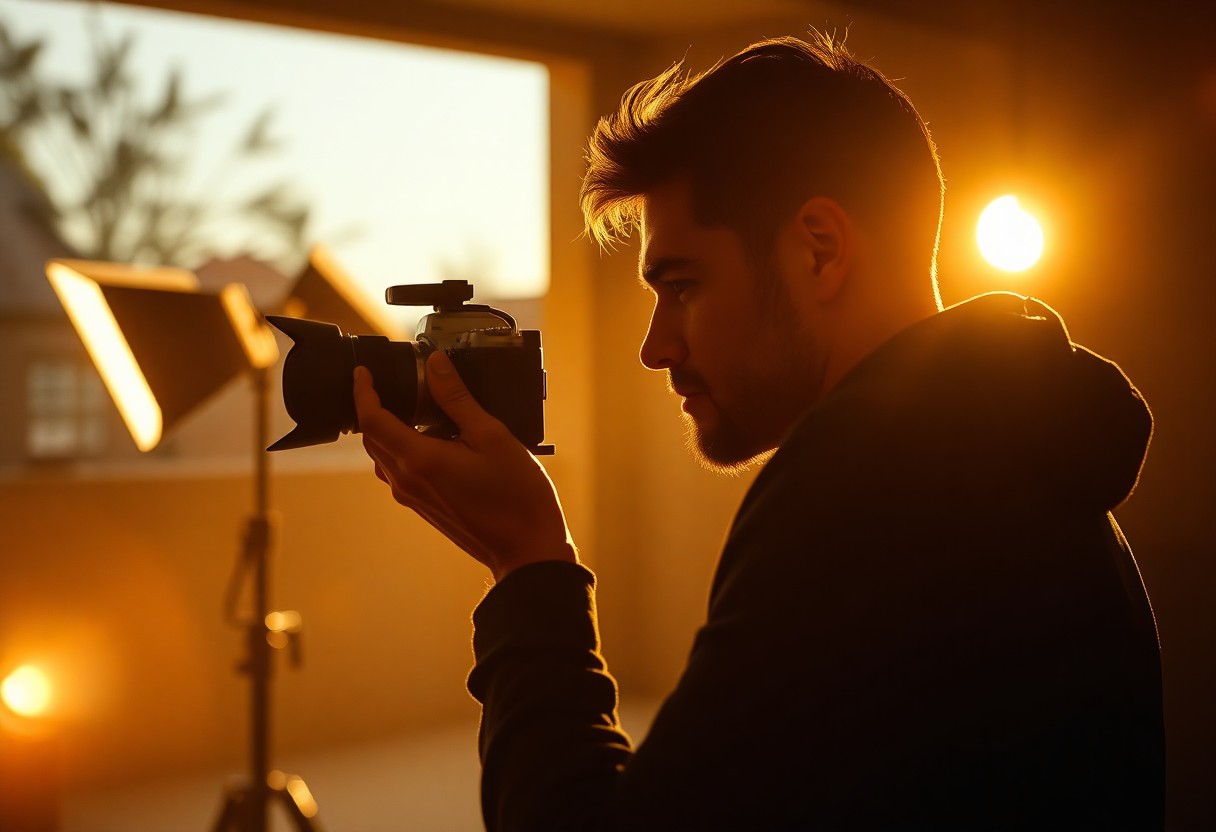
An iconic phenomenon in photography, the golden hour occurs during the first hour after sunrise and the last hour before sunset. This period provides soft, warm light that enhances colors and reduces harsh shadows, making your subjects appear more flattering. To maximize this enchanting light, plan your shoots in advance and arrive early to capture the magic of the golden hour.
Cloudy Days and Soft Light
Along with sunny conditions, cloudy days offer unique opportunities for photography by providing soft, diffused light. This type of lighting minimizes shadows, ensuring even exposure across your images. It can be particularly beneficial for portraiture, as it creates a more natural and flattering effect on skin tones, enhancing details without overwhelming brightness.
Golden hours aren’t the only time to create captivating images; in fact, cloudy days can deliver stunning results too. The soft light filtering through clouds provides a beautiful canvas to work with, allowing you to focus on details and textures. Utilize this gentle lighting to capture landscapes, intimate portraits, and even close-ups, all benefiting from the balanced exposure that clouds offer. Embrace the versatility of cloudy conditions, and you’ll expand your creative possibilities in photography.

Mastering Artificial Light
It is imperative to harness artificial lighting to elevate your photography skills. Understanding different types of artificial light sources and how to manipulate them can dramatically enhance your images. Experimenting with these settings allows you to create striking photographs that reflect your unique style.
Types of Artificial Lighting
For effective artificial lighting, you should familiarize yourself with various types available:
| Light Bulbs | Standard indoor light sources that come in different color temperatures. |
| LED Lights | Energy-efficient options that provide consistency and longevity. |
| Fluorescent Lights | Great for continuous lighting, but can affect color balance. |
| Studio Strobes | Powerful flash units used in professional photography. |
| Speedlight | Portable flashes that can be used on or off-camera. |
- Light Bulbs
- LED Lights
- Fluorescent Lights
- Studio Strobes
- Speedlight
Knowing the characteristics of each type can help you select the perfect light for your shoot.
Using Flash Effectively
Along with mastering natural light, you can significantly enhance your work by using flash effectively. Utilizing flash properly can add dimension and detail to your images, resulting in more impactful photographs.
Consequently, understanding flash techniques, such as bounce flash and diffusing light, will elevate your photography. Experiment with the flash settings on your camera to achieve the desired effect. Combine flash with ambient light for a balanced exposure, taking control of your lighting scenario to convey mood and emotion in your images.
Balancing Natural and Artificial Light
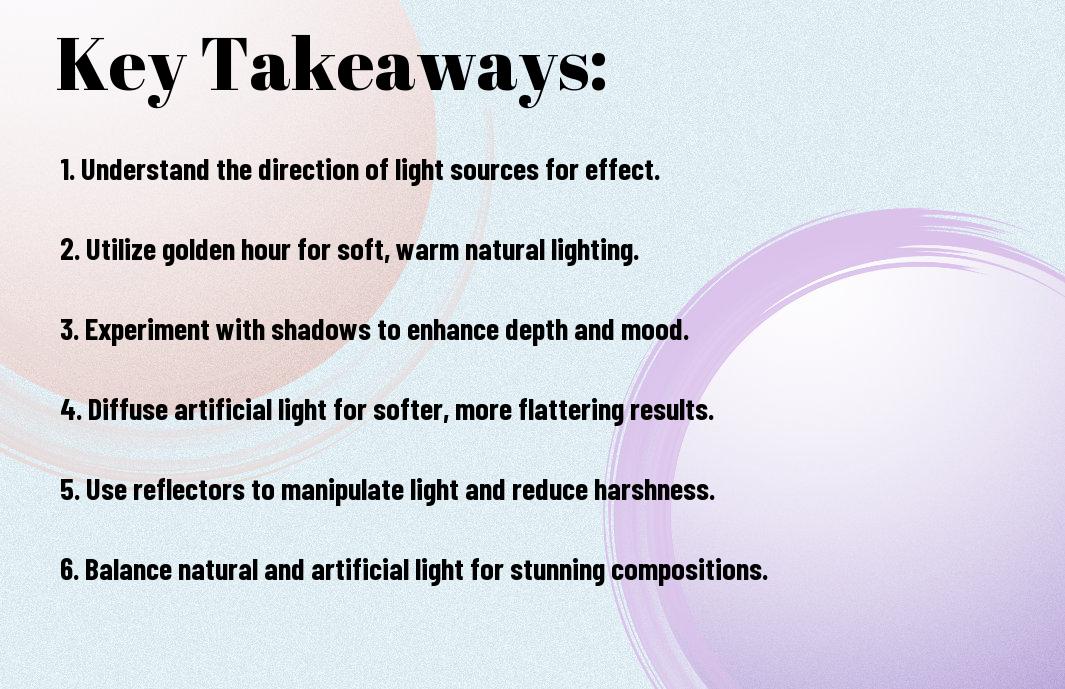
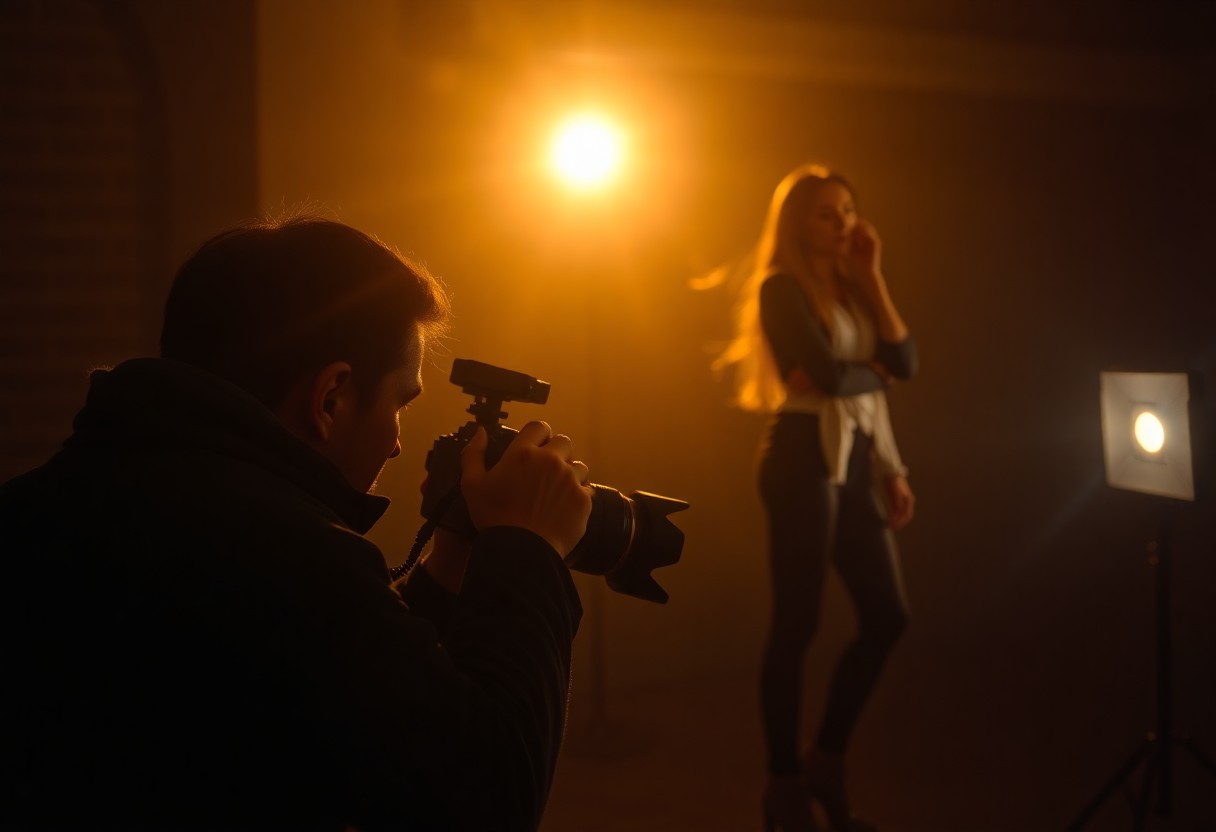
After you gain a solid understanding of both natural and artificial light, the next step is to balance the two in your photography. This involves recognizing when to harness the beauty of natural light while effectively integrating artificial sources to enhance your composition. By achieving a harmonious equilibrium, you can create stunning photos that display depth and vibrancy, regardless of the lighting conditions.
Techniques for Blending Light Sources
To effectively blend light sources, you can start by adjusting your artificial lights’ intensity and positioning until they complement the natural light. Using reflectors can bounce light onto your subject, softening shadows and enhancing details. Experimenting with light modifiers for your artificial lights can also help replicate the soft quality of natural light, ensuring a cohesive look in your images.
Color Temperature Considerations
Blending different light sources requires awareness of color temperature to ensure a unified color palette. Each light source emits varying color temperatures, which can affect the overall mood of your photograph. By adjusting your camera settings or using color gels on artificial lights, you can harmonize the tone between natural and added light, resulting in a more visually appealing image.
Color Temperature Comparison
| Light Source | Color Temperature (Kelvin) |
|---|---|
| Overcast Sky | 6000-7000K |
| Sunlight | 5000-5500K |
| Incandescent Bulb | 2500-3000K |
| Fluorescent Light | 4000-5000K |
Considering the effects of color temperature can dramatically improve your photographs. By understanding the specific Kelvin ratings of your light sources, you can adjust your white balance settings effectively. This allows you to create natural-looking images that maintain the integrity of your subject’s colors. Properly balancing the color temperatures also helps you avoid unwanted color casts, ensuring your photos look professional and visually appealing.
Color Temperature Effects
| Color Temperature | Effect |
|---|---|
| Lower Temp (2500-3000K) | Warm, inviting tones |
| Mid Temp (4000-5000K) | Neutral, balanced light |
| Higher Temp (6000-7000K) | Cool, clinical feel |

Direction of Light
For photographers, understanding the direction of light is key to achieving striking images. The angle and source of light can dramatically affect the mood, texture, and depth of your photos. Experimenting with different light directions will help you develop your unique style and enhance your storytelling through visual imagery.
Front Lighting vs. Backlighting
The choice between front lighting and backlighting can completely transform your image. Front lighting illuminates your subject directly, reducing shadows and revealing details, making it ideal for portraits. Conversely, backlighting creates dramatic silhouettes and highlights the contours of your subject, adding a sense of mystery and allure. Knowing when to use each can enhance your photography narrative.
Side Lighting and Creating Depth
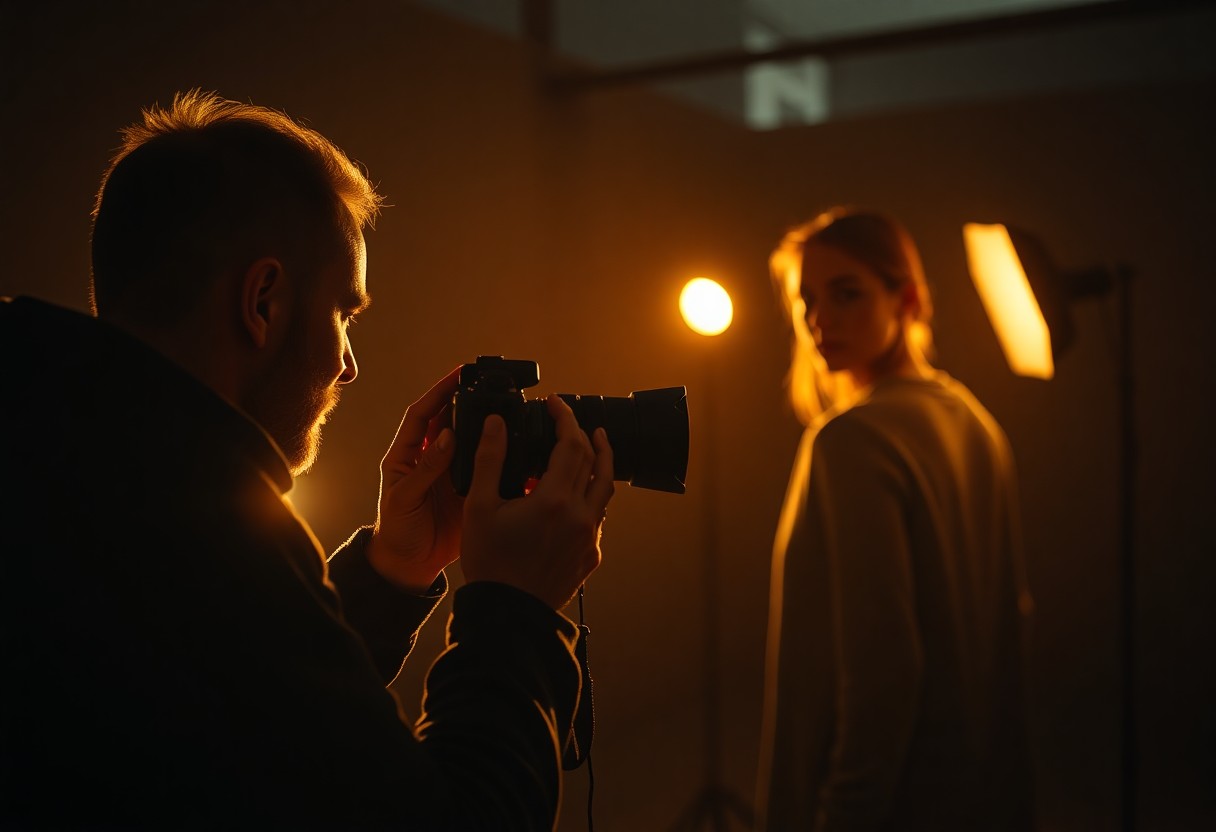
Any time you utilize side lighting, you unlock the potential to create dimensionality in your images. Side lighting accentuates textures and shapes, allowing shadows to fall elegantly across your subject, adding depth to your compositions.
Direction plays a significant role in how your subject is perceived in an image. When you position your subject so that the light comes from the side, you introduce a play of light and shadow that enhances visual interest. This technique adds a three-dimensional quality, making your photographs more engaging to viewers. Side lighting can be particularly effective in portraiture, landscapes, and still life, where the interplay of light and shadow can bring your subjects to life.
Exposure and Metering
Keep in mind that mastering exposure and metering is vital for capturing stunning images. Understanding how to utilize your camera’s metering modes allows you to accurately assess light within your scene, making it easier to achieve the correct exposure. With the right settings, you can enhance your photographs, bringing out detail and vibrancy in every shot.
Essential Exposure Settings
Behind your camera’s functionality lies three main settings: aperture, shutter speed, and ISO. These elements work together to determine the exposure of your photographs, allowing you to creatively manipulate light conditions.
| Aperture | Controls depth of field and light entry. |
| Shutter Speed | Affects motion blur and light exposure duration. |
| ISO | Determines camera sensitivity to light. |
Advanced Metering Techniques
The ability to fine-tune your exposure through advanced metering techniques will elevate your photography. By selecting the appropriate metering mode, you can achieve optimal results in varying lighting situations, ensuring your images are balanced and well-exposed.
| Spot Metering | Measures a small area for precise exposure. |
| Center-Weighted Metering | Focuses on the central area while considering surroundings. |
| Matrix Metering | Analyzes the entire scene for balanced exposure. |
A key aspect of utilizing advanced metering techniques is understanding your environment. By analyzing light conditions and your subject, you can effectively choose the right metering mode to achieve your desired effect. This strategy helps you adapt to different shooting situations and enhances overall image quality.
- Evaluate your scene’s lighting before selecting a metering mode.
- Use spot metering for intricate or high-contrast subjects.
- Combine metering modes for optimal exposure in mixed light conditions.
Practical Lighting Scenarios
All great photographers understand that mastering light can elevate your images. In different settings, whether you are capturing a portrait or a sweeping landscape, you must adjust your technique to make the most of available light. Experimenting with both natural and artificial lighting can improve your creative vision while enhancing the atmosphere of your shots.
Portraits
Beside the technical aspects of settings and gear, your approach to lighting in portrait photography matters significantly. Utilize soft, diffused light for flattering skin tones, often found during golden hour or in shaded areas. Don’t shy away from experimenting with reflectors or artificial light sources to add depth and dimension to your subjects.
Landscapes
About landscapes, you often want to capture the mood of a scene effectively. The time of day can dramatically alter the light and shadow within your composition. Use early mornings or late afternoons to benefit from softer, warmer light that can enhance textures and colors in the landscape.
Even during mid-day, when light is harsh, you can find interesting contrasts by focusing on shadows or stormy skies. Pay attention to the direction of light and the way it interacts with natural elements. Utilizing techniques like HDR can help manage high contrast scenes, ensuring your landscapes possess both brightness and detail.
Summing up
With these considerations in mind, you can elevate your photography by mastering the interplay of natural and artificial light. Understanding how to utilize different lighting techniques will allow you to create compelling images that convey mood and depth. By experimenting with various sources and angles of light, you enhance your ability to tell stories through your photos. Embrace this knowledge and let it inspire your creative journey in photography.


