
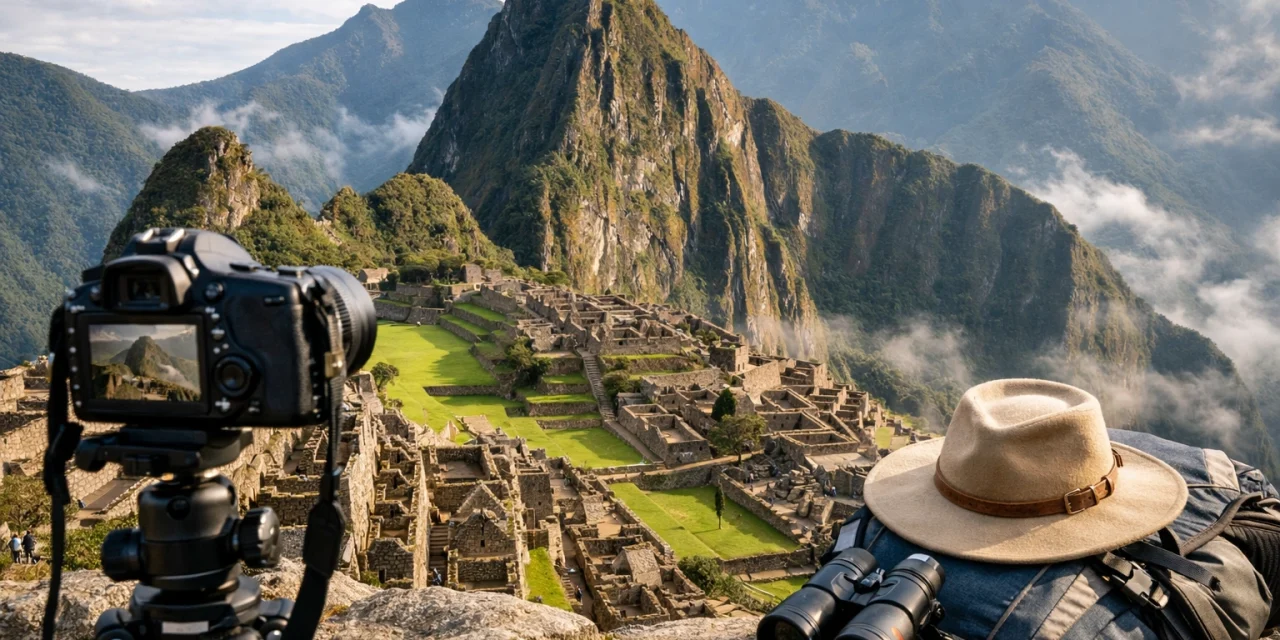
There’s a specific feeling you get when you step off the bus, hike up that final set of stone stairs, and see the clouds part over the Lost City of the Incas. It’s one of those rare moments where reality actually lives up to the hype. But for us photographers, that awe is quickly followed by a frantic "Where’s my camera?" and "How do I capture this without 400 people in neon windbreakers in my shot?"
Machu Picchu is arguably one of the best photography locations on the planet, but it’s also one of the most challenging. Between the unpredictable Andean weather, strict park regulations, and the sheer scale of the site, you need a plan.
As part of our 30-day series on the world’s most iconic spots, I’m breaking down everything I’ve learned about shooting this Wonder of the World. Whether you’re rocking a high-end mirrorless setup or just looking for the most instagrammable places to snap on your phone, this guide has you covered.
Why Machu Picchu is a Photographer's Dream (and Nightmare)
The citadel sits at 7,970 feet, nestled between the Huayna Picchu and Machu Picchu mountains. The light here changes every five minutes. One moment you have a crisp, blue-sky landscape; the next, you’re engulfed in a mystical fog that makes everything look like a scene from an Indiana Jones movie.
To really succeed here, you need to master a few specific travel photography tips. You aren't just taking pictures of ruins; you’re capturing the relationship between ancient architecture and the dramatic landscape of the Sacred Valley.
Before you even pack your bags, make sure you've sorted your logistics. I highly recommend checking out these Machu Picchu activity recommendations to book your entry tickets and guides in advance. Trust me, they sell out months ahead, and you don’t want to fly all the way to Peru just to stare at the entrance gate.

Best Photography Locations Within the Sanctuary
If you want those "banger" shots for your portfolio or feed, you need to know where to stand. The site is massive, and with the new one-way circuit rules, you often can’t go backward.
1. The Guardian’s House (The Classic View)
This is where everyone gets that "postcard" shot. From here, you see the entire citadel with Huayna Picchu towering in the background.
- Pro Tip: Don’t just stand where everyone else is. Move slightly lower on the terraces to use the stone walls as a leading line that draws the eye toward the city.
2. The Sun Gate (Inti Punku)
If you’re doing the Inca Trail, this is your first view. If not, it’s a steady uphill hike from the main site. It offers a distant, grand perspective of the ruins. It’s perfect for telephoto shots that compress the mountains and make the ruins look like they are floating in the clouds.
3. The Central Plaza and Sacred Rock
Once you get down into the ruins, look for the Sacred Rock. It’s a massive stone carved to mimic the shape of the mountain behind it. This is one of the most instagrammable places for a reason: the scale is mind-blowing.
4. The Upper Terraces
For those seeking a unique perspective, the upper terraces offer a great view of the agricultural side of the city. Plus, this is usually where the resident llamas hang out.

Essential Travel Photography Tips for Success
Timing is Everything
The "Golden Hour" is a bit different in the mountains. The sun takes longer to crest the peaks in the morning and disappears earlier in the evening.
- Morning (6:00 AM – 8:00 AM): The mist is often heavy, which is incredibly atmospheric. As the sun rises, it burns through the fog, creating dramatic light beams.
- Afternoon (3:00 PM – 5:00 PM): This is my favorite time. Most of the day-trippers have headed back to the train station, the light turns soft and golden, and the shadows add depth to the stonework.
Mastering Your Composition
Don’t just "point and shoot." Use the rule of thirds. Place the main peak of Huayna Picchu on one of the vertical grid lines. Look for natural frames: windows and doorways in the ruins are perfect for framing the distant mountains. For more on the basics of getting the shot right, our educational photography guides are a great place to start.
The Llama Factor
Let’s be real: your trip isn't complete without a photo of a llama looking majestic in front of ancient ruins. To get the best shot, get down low. Positioning your camera at the llama’s eye level makes the animal feel like a part of the landscape rather than just a foreground distraction.

Technical Settings and Gear
You don’t need a truckload of equipment, but you do need the right stuff. You can see my full breakdown of essential photography gear for travel, but here’s the Machu Picchu specific list:
- Lens Choice: A wide-angle (16-35mm) is essential for the landscapes. However, a mid-range zoom (24-70mm) is the real MVP here. It allows you to capture the wide view and then zoom in on the intricate Incan stonework without changing lenses in a dusty or misty environment.
- Filters: A Circular Polarizer is a lifesaver. It helps cut the haze and makes the greens of the jungle and the blues of the sky pop.
- The No-Tripod Rule: Generally, tripods are banned inside Machu Picchu unless you have a very expensive professional permit. To keep your shots sharp in low light, lean against a stone wall or use a "bean bag" style stabilizer.
- Camera Choice: If you’re looking to upgrade before your trip, check out our 2024 camera reviews to find something lightweight but powerful.
Recommended Camera Settings:
- Format: Always shoot in RAW. The dynamic range between the bright sky and the dark shadows of the stone ruins is huge. You’ll need that extra data when you’re editing later.
- Aperture: For those wide landscapes, stick between f/8 and f/11 to ensure everything from the foreground grass to the distant peaks is sharp.
- ISO: Keep it as low as possible (ISO 100-400) to maintain image quality, but don't be afraid to bump it up if the morning fog makes things too dark.

Dealing with the Practical Realities
Machu Picchu is a high-altitude jungle. It’s humid, it’s hot, and then it’s suddenly raining.
- Protect Your Gear: Bring a rain cover or even just a heavy-duty plastic bag. I’ve seen many "perfect" days turn into a downpour in seconds.
- Patience is Your Best Lens: You will have to wait for people to move. You will have to wait for the clouds to shift. Take a breath, enjoy the view, and be ready when the moment happens.
- The "Booking" Experience: If you’re feeling overwhelmed by the logistics, we have a guide on the photography booking experience that helps explain how to navigate professional shoots in foreign locations.
For the best experience, I recommend booking a guided tour that understands photographers. You can find some of the top-rated Machu Picchu tours and experiences here. Having a guide who knows the "secret" spots can make all the difference between a good photo and a world-class one.

Making Your Photos Stand Out
Since everyone and their grandmother has a photo of Machu Picchu, how do you make yours different?
- Look for the Details: The Incas were master masons. The way the stones fit together without mortar is mind-blowing. Close-up shots of these textures can be just as powerful as the wide landscapes.
- Include People (Wisely): Sometimes, a lone hiker in a red jacket can provide a sense of scale that the ruins alone can't. Just make sure they aren't cluttering the frame.
- Post-Processing: Don't over-saturate! The natural beauty of the Andes is subtle. If you need a little help with your skies, check out our sky overlays to add some drama to those flat-grey midday shots.
Final Thoughts
Machu Picchu is more than just a checkbox on a travel list; it’s a spiritual experience that happens to be incredibly photogenic. If you go in with a plan, the right gear, and a bit of patience, you’ll come home with images that you’ll want to hang on your wall for decades.
Remember to respect the site. Stay on the paths, follow the guards' instructions, and take nothing but photos. We want this place to stay pristine for the next generation of photographers.
Ready to start planning your next adventure? Whether you're looking for cheap weekend getaways or deep dives into educational photography, Photoguides is here to make sure you capture the world in its best light.
Happy shooting, and I’ll see you at the Sun Gate!


