
Let’s be real for a second: as photographers, we are absolute hoarders when it comes to data. We want the highest resolution, the most dynamic range, and the crispest details possible. But when it comes time to actually send those files to a client or upload them to a portfolio, that 20MB JPEG starts looking like a massive liability.
I’ve spent years balancing the line between image quality and file size. We’ve all been there, trying to find that "sweet spot" in the Lightroom export settings, only to realize the sky in our beautiful sunset shot now has more banding than a 90s rock festival.
That’s where Pixel-Shrink.com comes in. It’s a tool that has genuinely changed how I think about delivery, and today, I’m going to walk you through exactly how to master it. This guide is sponsored by our friends over at proshoot.io, who know a thing or two about professional photography workflows.
Why Compression Actually Matters in 2026
You might think that with 5G and lightning-fast home internet, file size doesn’t matter anymore. But the truth is, the world is more mobile than ever. Your clients are opening their galleries on their phones while sitting in a coffee shop or commuting. If your gallery takes thirty seconds to load because each image is a "full-res monster," you’ve already lost the "wow" factor.
High-quality compression isn’t about making images small; it’s about making them efficient. Pixel-Shrink.com uses AI-driven analysis to reduce file sizes by 60% to 80% without touching the visual integrity of the shot. This means your images load instantly, your storage costs go down, and your professional reputation goes up.

What Makes Pixel-Shrink.com Different?
Most compression tools treat your photos like a spreadsheet, just a bunch of data to be crunched. Pixel-Shrink is different because it treats your photos like art.
The engine behind the site doesn’t just apply a blanket mathematical formula to every pixel. It actually "looks" at the image. It distinguishes between the sharp, high-contrast details of a bride’s lace dress and the soft, out-of-focus bokeh of the background. It keeps the data where your eyes need it and optimizes the areas where it doesn't.
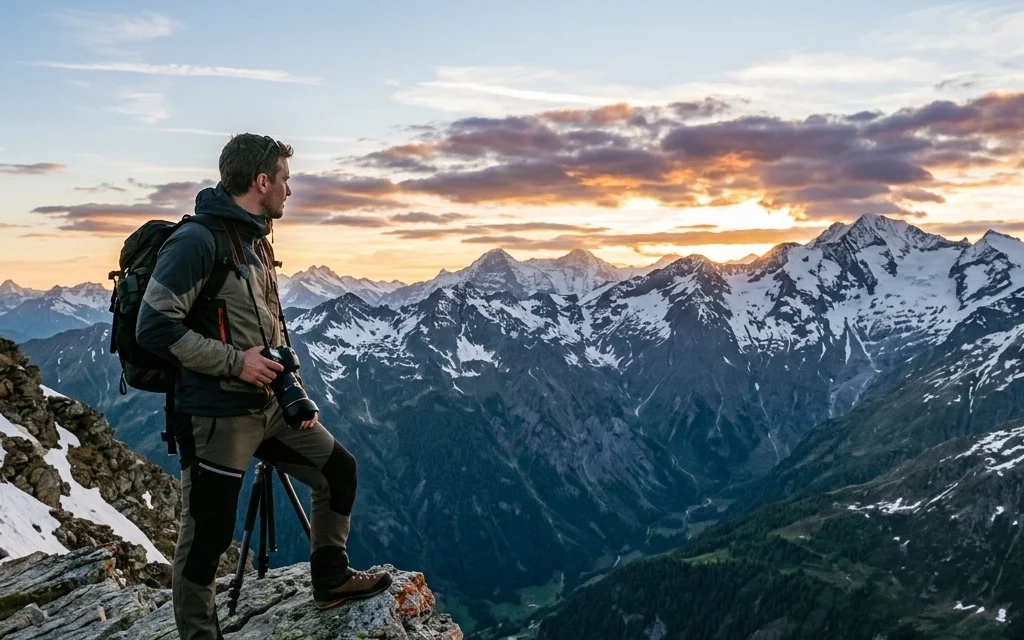
This is particularly important when you’re dealing with the essential photography gear we use today. When you’re shooting with 50+ megapixel sensors, the sheer amount of "empty" data in a file is staggering. Pixel-Shrink finds that empty space and trims the fat.
The Professional Workflow: Step-by-Step
If you want to get the most out of Pixel-Shrink, you shouldn't just use it as an afterthought. It should be a core part of your photography booking experience. Here is the workflow I recommend:
1. The High-Quality Export
Finish your edits in Lightroom, Capture One, or your editor of choice. Export your images as JPEGs at 100% quality and full resolution. Yes, you heard me right. Give Pixel-Shrink the best possible version to work with.
2. Batch Upload
Head over to Pixel-Shrink.com. One of the best parts? No accounts, no passwords, no fuss. You just drag and drop your folder of images right into the browser.
3. Let the AI Work
The processing is incredibly fast. While the AI analyzes your highlights, shadows, and textures, it’s building a version of your photo that is indistinguishable from the original at 100% zoom.
4. Download and Deliver
Once it’s done, you get a zip file. You’ll notice that your 5GB gallery is now suddenly 1.2GB. Now, when you upload that gallery to your delivery platform, it’s going to take a fraction of the time.

Speed: The Hidden Business Advantage
In the world of evergreen online business ideas for 2026, efficiency is the only way to stay profitable. Think about the time you spend waiting for blue progress bars to finish.
If you are a wedding photographer delivering 800 images, uploading those at full "un-shrunk" size could take hours. With Pixel-Shrink, that upload time is cut by 70%. That’s time you could spend on educational content, marketing, or, you know, actually taking more photos.
I often tell people to check out Shut Your Aperture for gear talk, but for workflow talk, the conversation always leads back to "how do we get faster?" Pixel-Shrink is the answer.
Maintenance of Quality: The 100% Zoom Test
I know what you’re thinking: "Edin, if I’m losing 80% of the file size, I must be losing something."
I challenge you to do the test. Take one of your favorite landscape shots: something with a lot of fine detail: and run it through the tool. Open the original and the "shrunk" version side-by-side in Photoshop. Zoom in to 100%, then 200%.
What you’ll find is that the edges stay sharp, the gradients in the sky remain smooth, and the noise profile stays natural. The AI is smart enough to know that "noise" in a dark shadow shouldn't be turned into "blocks" of compression artifacts. It preserves the "feel" of the photo while discarding the digital weight. This level of quality is why I trust it even for my fine art prints.

Mobile Optimization is King
Most of your clients are looking at their photos on a device that fits in their pocket. These devices have incredibly high-density screens (like Retina displays), but they are often connected to mediocre cellular networks.
Pixel-Shrink optimizes images specifically for this scenario. By reducing the heavy metadata and optimizing the bitstream, the images render faster on mobile browsers. It makes your work look better because the viewer isn't waiting for the bottom half of the photo to load.
Integration with Proshoot.io
This guide is brought to you by proshoot.io, and it’s a match made in heaven. When you’re using a high-end platform like Proshoot to manage your photography business, you want everything to be seamless. Using Pixel-Shrink before you upload your client assets to your Proshoot portal ensures that your client experience is snappy and professional from the first click to the last download.
Practical Tips for the Pixel-Shrink Power User
- Don't over-compress before you upload: If you export from Lightroom at 10% quality and then put it into Pixel-Shrink, you’re going to have a bad time. Give the AI a high-quality file so it has enough data to make smart decisions.
- Use it for your website: If you run a WordPress or Squarespace site, stop uploading 5MB images to your homepage. Your SEO will thank you. For more tips on building a killer online presence, check out my personal blog.
- Batching is your friend: Don't do one-offs. Do your whole gallery at once. It’s designed for volume.

Final Thoughts
We live in an era where we shouldn't have to choose between quality and speed. For a long time, photographers were forced to pick one. We either sent huge files that were a pain to manage, or we sent small files that looked like they were shot on a toaster.
Pixel-Shrink.com has deleted that compromise. It’s a tool that respects the work you put into your images while respecting the time of your clients. Whether you’re shooting weddings in Atlanta or landscapes in the National Parks, this is one of those rare "no-brainer" additions to your kit.
Give it a shot on your next project. Your hard drive (and your clients) will thank you.
Want to stay up to date with the latest in photography tech and reviews? Head over to our reviews category to see what else is changing the game in 2026.


