
If you have been in the photography game for more than a minute, you know the struggle. We live in an era where camera sensors are pushing 50, 60, and even 100 megapixels. While that detail is incredible for printing large-scale work like you might see on edinfineart.com, it creates a massive logistical headache when it comes to the web.
Huge files slow down your website, eat up your cloud storage, and frustrate your clients when they try to download a gallery on a mobile connection. But as professionals, we can’t just slash the quality. We need our images to look as crisp as the day they were shot.
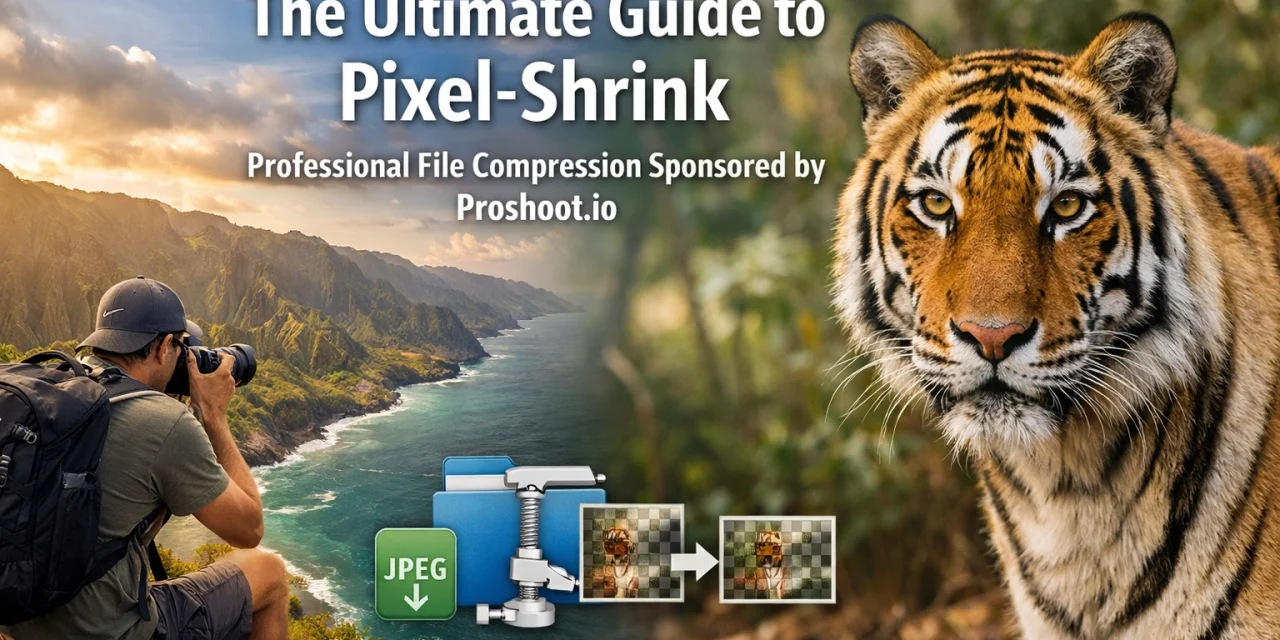
That is where Pixel-Shrink.com comes in. In this guide, we are diving deep into how this tool: proudly sponsored by our friends at Proshoot.io: is changing the workflow for professional photographers who need speed without compromise.
Why Compression is No Longer Optional
Back in the day, we used to just upload full-resolution JPEGs to our blogs and call it a day. But the internet has changed. Google now prioritizes site speed as a major ranking factor. If your portfolio takes five seconds to load because you’re hosting 15MB files, your SEO is going to tank.
More importantly, the user experience matters. Whether someone is looking at my latest camera reviews 2024 or browsing through a wedding photography insights post, they want to see the images instantly.
Compression isn't about making an image "worse"; it’s about making it "smarter." It’s about removing the data that the human eye can’t even perceive, leaving you with a file that’s a fraction of the size but looks identical to the original.

Enter Pixel-Shrink: The Professional’s Choice
There are a lot of free compression tools out there, but most of them are built for casual users. They often strip away too much detail or give you zero control over the output. Pixel-Shrink was designed with the professional photographer in mind.
One of the first things you'll notice about Pixel-Shrink is the interface. It’s clean, fast, and lacks the annoying pop-up ads that plague other "free" converters. It’s a tool built for a high-end workflow, which is exactly why it’s a perfect fit for the Photoguides community.
How it Works
Using the platform is about as simple as it gets:
- Drag and Drop: You can throw JPEGs or PNGs directly into your browser.
- Select Your Level: This is where the magic happens. You choose the compression level that fits your specific needs.
- Download: Grab your optimized files and check the compression report to see exactly how much space you saved.
Speed vs. Quality: Finding the Sweet Spot
The biggest fear every photographer has is "artifacting": those weird blocks and muddy textures that appear when a file is compressed too much.
Pixel-Shrink handles this by offering specific settings based on your use case:
The "Professional" Setting
For most web applications: like your portfolio or your photography blog: the "Professional" setting is the gold standard. It typically reduces file sizes by up to 80%. When I use this for the images on blog.edinchavez.com, I can’t tell the difference between the original and the compressed version, even on a high-resolution Retina display.
The "High Fidelity" Setting
Sometimes, you need to retain every single ounce of sensor detail. Maybe you’re uploading a high-detail landscape or a shot that highlights essential photography gear. The "High Fidelity" setting preserves more of the nuance in the shadows and highlights while still providing a significant reduction in file weight.

Batch Processing: Saving Your Most Valuable Asset
As a pro, your most valuable asset isn't your camera: it's your time. Spending hours compressing files one by one is a recipe for burnout.
Pixel-Shrink’s batch processing is a lifesaver. You can upload entire galleries at once. A pro tip I always recommend is grouping your images by type. If you have 50 portraits from a session, run them through as a batch. This ensures visual consistency across the entire set. Whether you're working on an Atlanta event photographer project or a commercial shoot, the ability to process hundreds of photos in minutes is a game changer.
Metadata Control: Protecting Your Work
Metadata is a double-edged sword. On one hand, your EXIF data contains your copyright info and camera settings, which is vital for professional tracking. On the other hand, metadata adds bytes to every file.
Pixel-Shrink gives you the power to choose. If you are preparing images for a client gallery where copyright is paramount, you can keep that data intact. If you are purely focused on making your website load at lightning speeds, you can strip it away to save those extra few kilobytes.

Sponsored by Proshoot.io
We are thrilled to have this guide sponsored by Proshoot.io. In the world of professional photography, having the right tools is only half the battle; you also need the right platform to showcase and manage your business.
Proshoot.io understands the needs of modern creators, and their support allows us to continue providing educational content and reviews to the community. When you pair a high-performance compression tool like Pixel-Shrink with a professional management platform, you’re setting your photography business up for serious growth.
The Impact on SEO and User Experience
Let's talk numbers for a second. If your homepage has ten images, each 2MB, your visitor has to download 20MB just to see your work. On a 4G connection, that could take ages. Most people will hit the "back" button before they even see your first photo.
By using Pixel-Shrink to bring those 2MB files down to 300KB each, your page weight drops from 20MB to 3MB. That is a massive difference. Your site feels snappy, your bounce rate drops, and your search engine rankings start to climb.
Whether you're showcasing wedding photography or a guide on the best breweries in Williamsburg, the speed of your delivery is just as important as the quality of your art.

Best Practices for Image Compression
To get the most out of Pixel-Shrink, here are a few rules of thumb we follow at Photoguides:
- Export at the correct dimensions first: Don't upload a 6000px wide image if it’s only going to be displayed at 1200px. Resize your image in Lightroom or Photoshop first, then run it through Pixel-Shrink for the final optimization.
- Use JPEGs for photos: For standard photography, JPEG is still king. It offers the best balance of quality and compression.
- Use PNGs for graphics: If you have a logo or an image with transparency, Pixel-Shrink handles PNGs beautifully, keeping those edges sharp while cutting the bloat.
- Test your results: Always do a quick visual check. Pixel-Shrink is incredibly reliable, but as a pro, you should always have the final eye on your work before it goes live.
Making the Switch
If you’ve been relying on outdated desktop software or clunky web tools that haven't been updated since 2015, it’s time for an upgrade. Pixel-Shrink provides the speed, the quality, and the professional features that modern photographers actually need.
It’s about more than just saving disk space: it’s about presenting your work in the best possible light, as fast as possible, to as many people as possible.
Ready to see the difference? Head over to Pixel-Shrink.com and try it out with your latest shoot. And don't forget to check out Proshoot.io to see how they can help streamline the rest of your photography business.
For more tips on refining your workflow and staying ahead of the curve, keep an eye on our reviews category for the latest in tech and gear. Stay creative, keep shooting, and stop letting large files hold your website back.


