
It is 2026, and the photography world looks a lot different than it did even two years ago. AI isn't just a buzzword anymore; it’s the backbone of how many of us edit, cull, and even generate imagery. But here’s the thing: while these tools are incredibly powerful, they aren’t magic wands. I see photographers every day: from hobbyists to seasoned pros: falling into the same traps that make their work look generic, "fake," or technically flawed.
At Photoguides, we believe in embracing the future while keeping one foot firmly planted in the soul of the craft. Whether you’re shooting landscapes in Laguna Beach or capturing high-end weddings, AI should be your assistant, not your replacement.
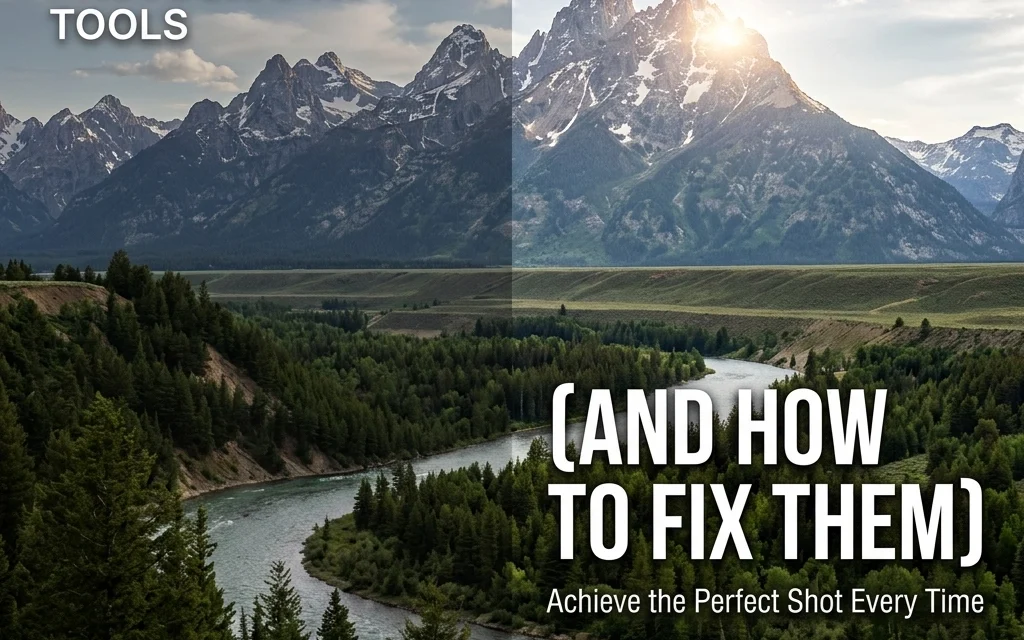
If you feel like your photos are losing their "edge" or looking a bit too "AI-ish," you’re likely making one of these seven mistakes. Let’s break them down and, more importantly, talk about how to fix them.
1. The "Set It and Forget It" Mentality
The biggest mistake I see is the assumption that AI can operate entirely on its own. We’ve all been there: you run a batch of photos through an AI culler or an auto-editor and walk away to grab a coffee, thinking the job is done.
When you let the machine have the final say, you lose the "why" behind the photo. AI doesn't know that a slightly out-of-focus shot of a bride’s grandmother is more valuable than a tack-sharp photo of a flower arrangement. It lacks the emotional context that makes photography an art form.
How to Fix It: Use AI to do the heavy lifting, but you must be the final editor. Treat AI outputs as a first draft. Look at every image before it goes to a client. If you’re using AI for culling, go back and double-check the "rejected" pile for those emotional gems the algorithm might have missed. Check out our educational category for more on blending traditional techniques with modern tech.
 1")
2. Resolution Amnesia
This is a technical one that bites people when they try to go from screen to print. Many AI generation tools and "generative fill" features work at a lower resolution than your native camera sensor. If you’re expanding a beautiful landscape shot using AI and then try to sell it as a large-scale print on Edin Fine Art, you’re going to notice a jarring drop in quality where the AI took over.
How to Fix It: Always check your pixel dimensions. If you use AI to expand a frame or generate elements, use a dedicated AI upscaler afterward to bring those sections up to par with your original RAW file. Never assume the "Fill" is print-ready. For high-end work, technical precision is non-negotiable.
3. The Prompting Gap
If your AI-generated backgrounds or elements look "off," it’s probably because your prompts are too vague. Writing "sunset over mountains" is a recipe for a generic, stock-photo-looking result. In 2026, the "AI photography trends" we see dominating the industry are all about hyper-specificity.
How to Fix It: Think like a cinematographer. When you’re using tools like Photoshop’s generative fill or standalone AI generators, include details about the lens (e.g., "shot on 35mm"), the lighting (e.g., "golden hour, back-lit with haze"), and the mood. If you want to keep that organic feel, you might even look into the Module 8 Lens Adapter to bring real-world character back into your digital workflow.
4. Skipping the Human Quality Control (The Uncanny Valley)
AI has a habit of "hallucinating." We’ve all seen the six-fingered hands, but in 2026, the glitches are subtler. It might be a shadow that goes the wrong way, a reflection that doesn't match the subject, or a texture that looks a little too much like plastic. If you don't catch these, your credibility as a pro takes a hit.
How to Fix It: Zoom in. Do a "perimeter check" on any area where AI was used. Look at the transition points between the original photo and the AI-generated content. If you're doing sky replacements, make sure you're using high-quality assets like our Sky Overlays to ensure the lighting remains believable and consistent.
 2")
5. Over-Automation and "Plastic" Skin
AI retouching is a godsend for event photographers, but it’s easy to go overboard. I call this the "Social Media Filter" effect. When you crank the AI skin smoothing to 100%, people stop looking like people and start looking like mannequins. You lose the pores, the character, and the authenticity.
How to Fix It: Dial it back. If your software has an opacity slider for AI effects, try 30% to 50%. You want to enhance the subject, not replace their skin texture. For more insights on keeping your portraits looking real while saving time, check out the discussions over at Shut Your Aperture.
6. Ignoring Lighting Inconsistency
One of the most common mistakes in travel photography and composite work is ignoring the light source. If you’re adding an AI element to a photo taken in the harsh midday sun of the Dominican Republic, but the AI element has soft, directional light, the viewer’s brain will immediately flag it as "fake," even if they can't pinpoint why.
How to Fix It: Before using AI to add or alter an image, identify your primary light source. Where are the shadows falling? What is the color temperature? Match your AI prompts to these conditions. Reassuring your audience with authentic-looking imagery is key to building trust in your brand.
 3")
7. The Authenticity Crisis
In a world full of AI art, the value of "real" photography is skyrocketing. A huge mistake photographers make is trying to compete with AI by making their photos look more like AI: perfectly symmetrical, impossibly vibrant, and devoid of flaws. This actually devalues your work.
How to Fix It: Lean into the "imperfections" that make photography human. Use AI to fix the distractions (like a trash can in a wedding shot), but keep the grain, the slight motion blur, and the unique color shifts of your essential photography gear. If you want to see how this balance is struck in the real world, take a look at my personal blog at Edin Chavez Blog.
Finding the Balance in 2026
The goal of using AI isn't to work less; it's to create more. It’s about removing the mundane tasks: like masking a complex tree line or culling 3,000 photos from a corporate event: so you can spend more time on the creative vision.
If you’re just starting to integrate these tools, I recommend checking out our camera reviews to see which new bodies have the best "in-camera" AI features.
Photography has always been a blend of technology and soul. From the darkroom to the digital sensor, and now to the AI model, the tools change, but the goal remains the same: to tell a story that resonates. Don't let the "mistakes" of automation dull the impact of your unique perspective.
Quick Fix Checklist for Your Next Edit:
- Zoom to 100%: Did the AI create any "ghost" artifacts or weird textures?
- Check the Shadows: Does the AI-generated light match the original scene?
- Dial Down the Smoothing: Is there still visible skin texture?
- Verify Resolution: Is the AI-filled area as sharp as the rest of the shot?
- The "Gut Check": Does the photo still feel like your work, or does it look like a generic prompt?
 4")
AI photography tools are evolving every day. Stay curious, stay skeptical, and keep shooting. If you're looking for more inspiration or want to see some of the best travel photography tips for your next trip, keep exploring the site. We're here to make sure you navigate this new era with confidence.


