
Category: Photo Guides
We’ve all been there. You just finished an incredible wedding or a high-end commercial shoot. You’ve spent hours in the editing suite perfecting every skin tone and highlight. Your exports are sitting in a folder, looking absolutely stunning. But then, you see the folder size: 4.5 gigabytes.
Suddenly, the excitement of finishing the job is replaced by the dread of the upload. Whether you are sending a gallery to a client or uploading to your own portfolio, large file sizes are the silent killer of productivity. They slow down your website, eat up your storage space, and make the photography booking experience feel sluggish for your clients.
Fortunately, there is a better way. I’ve been using Pixel-Shrink.com to handle my heavy lifting, and it has completely changed my post-production workflow. Sponsored by our friends at proshoot.io, this tool is built specifically for photographers who refuse to compromise on quality but need the speed of a streamlined digital workflow. In this guide, I’m going to show you exactly how to compress an entire client gallery in under five minutes without losing that "wow" factor in your images.
Why Image Compression is No Longer Optional
In the modern photography world, we are constantly told that "bigger is better." We buy high-resolution cameras, like those discussed in our camera reviews 2024, and we want every pixel to shine. However, a 25MB JPEG is rarely what a client needs for their social media or even for standard web viewing.
If your website takes more than three seconds to load because of massive image files, you are losing potential clients. According to Google, even a one-second delay in mobile load times can impact conversion rates by up to 20%. When you optimize your images, you aren't just saving disk space; you are boosting your SEO and providing a reassuring experience for your users.

The Photographer’s Dilemma: Quality vs. Size
The biggest fear every professional has when it comes to compression is "crunchiness." We’ve all seen what happens when you over-compress a file: the gradients in the sky get banded, the skin texture turns into plastic, and the sharp details of a lens like the ones found in our essential photography gear list simply vanish.
This is where Pixel-Shrink.com shines. Instead of using a "dumb" compression algorithm that applies the same math to every pixel, it uses an intelligent analysis of colors and textures. It identifies the redundant data that the human eye can't see and strips it away while keeping the important details tack-sharp. It allows you to maintain that professional look while significantly reducing the footprint of your files.
Step 1: Export Your High-Resolution Masters
Your workflow starts in your raw processor. Whether you use Lightroom, Capture One, or the software mentioned in our educational section, you want to start with a high-quality export.
I usually recommend exporting your JPEGs at about 90% quality. If you are delivering for web use, setting the long edge to 2500 pixels is the "sweet spot." This provides enough resolution for high-DPI displays (like Retina screens) while keeping the initial file size manageable. Even if you are exporting full-resolution files for your client's archives, Pixel-Shrink can handle them.
For those interested in how these high-res files look in a real-world fine art context, you can see some of my full-scale work at Edin Fine Art.
Step 2: The Drag-and-Drop Magic
Once your folder is ready, head over to Pixel-Shrink.com. The beauty of this tool is its simplicity. There are no complex software installations or account setups that waste your time.
You simply grab your entire folder of images and drag them directly into the browser window. The interface is clean and intuitive: perfect for when you’re in a rush to meet a deadline. Whether you have 20 images from a quick session or 500 images from a destination wedding, the tool treats them with the same level of care.

Step 3: Choosing the Right Settings
Pixel-Shrink gives you a few options depending on your needs. For most photographers, the "Balanced" setting is the gold standard. In my testing, this setting regularly delivers a 60-80% reduction in file size with zero visible loss in quality.
If you are a wedding photography insights junkie and you know your images are going to be uploaded to platforms like Facebook or Instagram (which apply their own heavy compression), you might choose the "High Quality" setting. This ensures that your images stay clean even after the social media algorithms take their swing at them.
Step 4: Let the Algorithm Work
Once you hit process, the magic happens in the cloud. For a typical gallery of 150 images, the processing usually takes about two minutes. During this time, the engine is analyzing every image to find the optimal compression point.
This is a great time to check out other resources for your business, such as Shut Your Aperture for the latest community gear talk or perhaps planning your next shoot using our Photo Guides.
Step 5: Download and Deliver
Once the process is complete, you can download your images as a single zip file or individually. The results are usually staggering. I’ve seen 1GB folders shrink down to 200MB without a single artifact in sight.
When you deliver these smaller files to your clients via a platform like proshoot.io, the upload is lightning fast, and your client doesn't have to wait an hour just to view their photos on their phone. It’s a win-win for everyone involved.

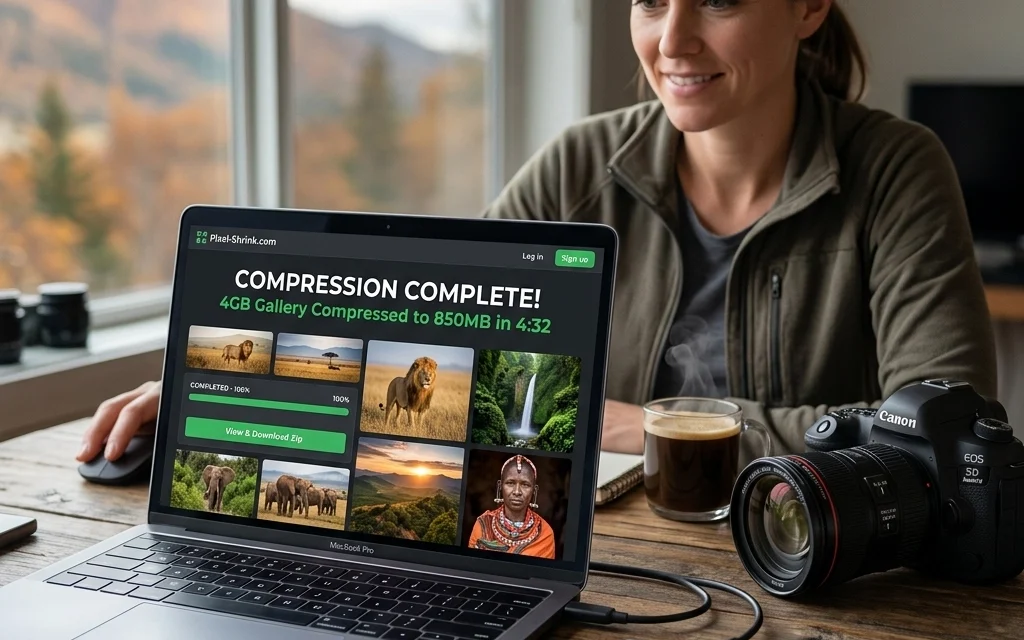
Real-World Performance: The 5-Minute Breakdown
Don't just take my word for it. Here is the actual time breakdown for a standard session of 100 images:
- Exporting from Lightroom: 1 minute
- Uploading to Pixel-Shrink: 45 seconds (depending on your connection)
- Processing: 2 minutes
- Downloading Compressed Files: 1 minute
- Total Time: 4 minutes and 45 seconds.
That is a full gallery ready for delivery in less time than it takes to brew a pot of coffee.
Pro Tip: JPEG vs. WebP
While JPEGs are the industry standard for delivery, if you are uploading images to your own photography blog or website, consider using the WebP format. Pixel-Shrink supports this, and it offers even better compression-to-quality ratios than JPEG. Using WebP can significantly speed up your site's performance, which is essential if you want your Atlanta event photographer services to rank high on search engines.

The SEO Benefit of Smaller Files
We often focus so much on the visual side of photography that we forget about the technical side. Search engines like Google prioritize fast-loading websites. If you are hosting a portfolio with dozens of uncompressed images, your ranking will suffer.
By using Pixel-Shrink.com, you are essentially performing a "speed tune-up" on your website. This is especially important for location-based guides, like our look at Miami's hidden speakeasies or Laguna Beach breakfast restaurants. When users are searching for these places on their phones, they need the images to pop up instantly.
Workflow Integration with Proshoot.io
Efficiency is the name of the game in 2026. By integrating Pixel-Shrink with a delivery platform like proshoot.io, you are creating a seamless "pro-grade" experience for your clients. They get high-quality images that don't clog their hard drives, and you get a reputation for being fast and professional.
If you want to see more about how I manage my professional workflow and travel shoots, feel free to dive into the stories at Edin Chavez's Blog.

Final Thoughts
As photographers, our time is our most valuable asset. Spending hours waiting for uploads is a relic of the past. With tools like Pixel-Shrink.com, we can maintain the high standards our clients expect while moving at the speed of modern business.
Whether you are shooting wedding photography insights or capturing the beauty of Dominican Republic vs Cancun, your images deserve to be seen without the lag. Give it a try on your next gallery: your clients (and your hard drive) will thank you.
For more tips on optimizing your photography business, check out our educational section or see our latest gear recommendations to keep your kit up to date.


