
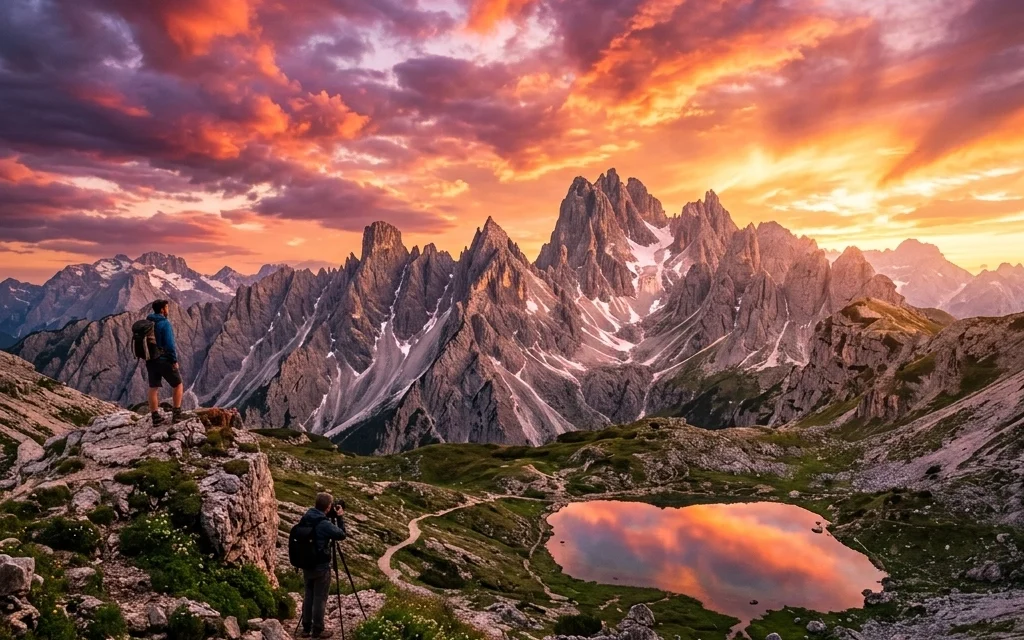
We’ve all been there. You wake up at 4:00 AM, hike three miles in the dark, and set up your tripod just in time for the sun to rise over a majestic mountain range, only to find that the sky is a flat, lifeless sheet of gray. It’s one of the most frustrating parts of being a landscape photographer. You have the perfect composition, the perfect gear, and the perfect location, but the weather simply refuses to cooperate.
In the past, you had two choices: pack up and go home disappointed, or spend four hours in Photoshop meticulously masking out branches and mountains to manually swap the sky. But things have changed.
As part of our new series showcasing why Luminar Neo has become the gold standard for modern photo editing, I want to show you how to turn those "meh" shots into "wow" shots in literally five minutes. Specifically, we’re looking at Sky AI: a tool that doesn’t just "cut and paste" a new sky, but intelligently relights your entire scene to make it look 100% authentic.
The Frustration of the "Flat Sky"
Landscape photography is often a game of patience and luck. Even when I’m out shooting for my Fine Art collection, I’m at the mercy of Mother Nature. A great landscape needs drama, and usually, that drama comes from the heavens. Without interesting clouds or the warm glow of a sunset, a photo can feel two-dimensional.
This is where many photographers get stuck. They feel like using AI is "cheating." But let’s be real: photography has always been about interpretation. Whether you were dodging and burning in a darkroom or sliding exposure bars in Lightroom, you’ve always been trying to recreate the feeling of being there. If the sky was beautiful five minutes before you arrived, why shouldn't your photo reflect that beauty?
Why Sky AI in Luminar Neo is Different
There are plenty of sky replacement tools out there now, but Luminar Neo’s Sky AI is the one I keep coming back to. Most tools just create a mask and drop an image behind it. The problem is that the foreground then looks "wrong." If you drop a fiery orange sunset into a photo that was shot under blue noon-day light, the colors won't match. It looks fake.
Sky AI is different because it uses "Scene Relighting." It analyzes the colors and tones of your new sky and then casts that same light onto your foreground. If there’s water in your shot, it even creates realistic reflections. This level of automation used to take hours of manual color grading. Now, it’s a slider.

SEO Alt Text: A side-by-side comparison of a dull, overcast mountain landscape and the same photo transformed with a vibrant sunset sky using Luminar Neo Sky AI, showing realistic orange light reflecting off the foreground rocks and grass.
The 5-Minute Workflow
Let’s break down exactly how you can use this tool to save your landscapes. If you want to follow along, you can download the software here and use one of your own "gray day" photos.
1. Import and Initial Clean-up (1 Minute)
First things first, get your image into Luminar Neo. Before I touch the sky, I like to do a quick pass with the "Enhance AI" tool. It’s a great way to bring out some initial detail in the shadows and balance the exposure. If you’re looking for more gear-specific advice before you even get to the editing stage, check out our guide on essential photography gear.
2. Selecting Your New Sky (1 Minute)
Navigate to the "Edit" tab and find "Sky AI" in the Creative section. When you click on "Sky Selection," you’ll see a library of high-resolution skies.
- Blue Skies: Great for cleaning up hazy cityscapes.
- Dramatic: Perfect for mountain ranges or rugged coastlines.
- Sunset/Sunrise: The go-to for that "golden hour" look.
The AI will instantly mask the horizon. Even if you have complex elements like trees, power lines, or jagged peaks, the mask is usually perfect on the first try. If you find you need more variety, you can even download additional sky overlays to keep your portfolio unique.
3. Relighting the Scene (1.5 Minutes)
This is the most important step. In the Sky AI panel, scroll down to "Scenery Relighting."
- Relight Amount: This determines how much of the sky's color is "poured" onto your foreground.
- Relight Saturation: This controls the intensity of that color.
If you’ve picked a sunset sky, crank the Relight Amount up until you see those warm oranges and pinks start to hit the grass or the rocks in your foreground. This is what sells the effect. For more tips on the technical side of landscape shooting, I often share deeper insights over at Shut Your Aperture.

SEO Alt Text: Close-up screenshot of the Luminar Neo Sky AI control panel, showing sliders for Relight Amount, Scenery Relighting, and Sky Selection with a variety of cloud presets visible.
4. Adjusting for Water and Reflections (1 Minute)
If your landscape includes a lake, a river, or even a wet street in a city, you need reflections. In the same Sky AI panel, look for the "Reflection" settings. You can adjust the "Reflection Amount" and "Water Blur." The AI is smart enough to distort the reflection based on the ripples in the water, making it look incredibly natural.
I’ve used this trick on photos from my travels to places like the Dominican Republic, where the ocean reflections are a huge part of the composition.
5. Final Atmospheric Touches (0.5 Minutes)
Finally, use the "Atmosphere AI" tool if you want to add a bit of depth. A little bit of "Layered Fog" or "Haze" can help blend the new sky with the horizon line, especially if you’re working with distant mountains. It adds that sense of scale that makes a landscape feel truly breathtaking.
Is It "Real" Photography?
I get this question a lot on my personal blog. At the end of the day, your goal as a photographer is to tell a story or evoke an emotion. If a gray sky is preventing that emotion from coming through, you have the tools to fix it.
Luminar Neo isn't about replacing the work you do in the field; it’s about enhancing it. It allows you to focus on the composition and the "soul" of the photo while the AI handles the tedious masking. It’s why we’ve rated it so highly in our camera and software reviews.

SEO Alt Text: A professional photographer sitting at a wooden desk with a large monitor, editing a dramatic landscape photo of the Grand Canyon, using a specialized editing console and Luminar Neo software.
Why We Recommend Luminar Neo for Landscapes
While Photoshop is a powerhouse, it’s often overkill for most photographers. Luminar Neo is built specifically with the photography workflow in mind. It’s intuitive, fast, and, most importantly, reassuring. You don't have to be a tech wizard to get professional results.
Whether you're shooting an event as an Atlanta event photographer or capturing the quiet stillness of a national park, your time is valuable. Spending hours on one sky replacement is time you could be spending out in the world taking more photos.

SEO Alt Text: A wide-angle landscape photo of a coastal cliff at twilight, featuring a perfectly blended Milky Way sky replaced via Sky AI, with realistic starlight reflecting on the ocean waves below.
Final Thoughts
Landscape photography is a marriage of technique and technology. By using tools like Sky AI in Luminar Neo, you're not just "fixing" a photo: you're finishing it. You're taking the vision you had when you pressed the shutter and making it a reality.
If you’re curious about how other AI tools can streamline your workflow, stay tuned. This is just the first post in our 30-part series. We’ll be diving into everything from Relight AI to Portrait AI, showing you how to spend less time behind the computer and more time behind the lens.
If you're looking for more inspiration or want to see more of my personal landscape work, feel free to browse my Fine Art gallery. Now, go find that "boring" photo in your archives and give it a second life!


