
![[HERO] A professional photographer sitting at a sleek desk in a modern studio, editing a breathtaking landscape photo on a large monitor using Luminar Neo, with soft natural light coming through a window.](https://cdn.marblism.com/Ec7-Fa9h9f_.webp "Luminar Neo 101: A Beginner’s Guide to Mastering Your AI Photography Workflow in 2026 1")
Hey there! If you’ve been following my journey at Edin Chavez’s Blog, you know I’m all about capturing the world in its most beautiful light. But here’s a secret: even the best shots usually need a little nudge to go from "great" to "gallery-ready."
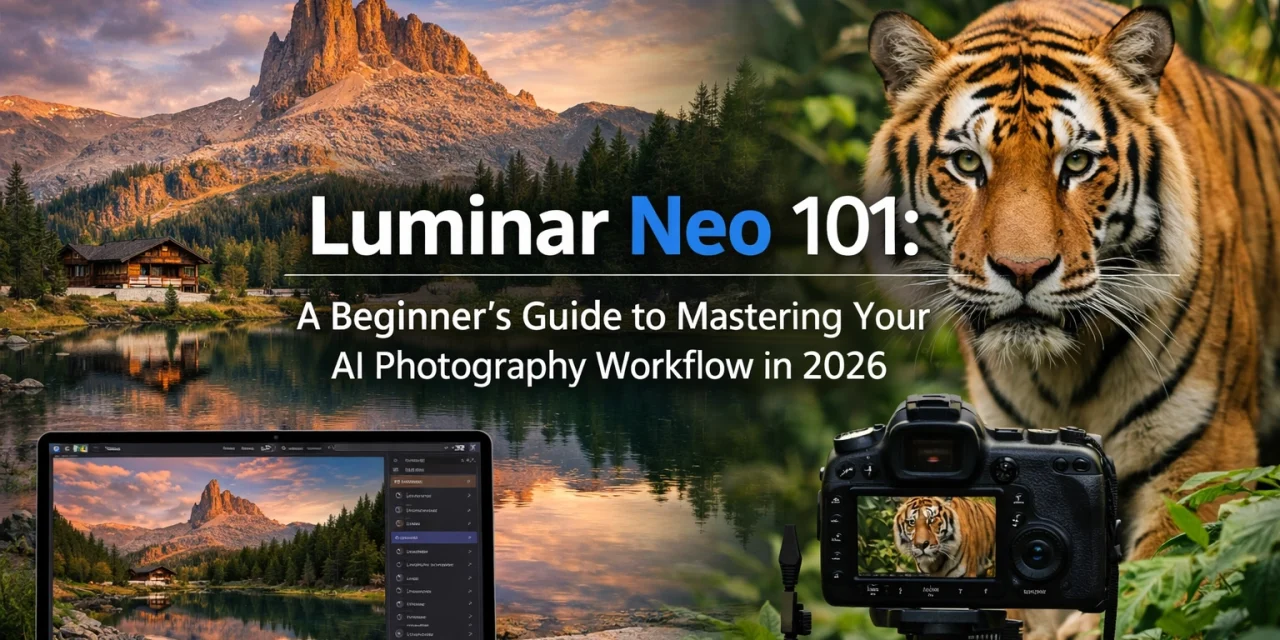
Welcome to 2026. We are living in an era where photography is more accessible than ever, and the tools we use have become incredibly smart. If you’re just starting out or looking to modernize your process, you’ve probably heard of Luminar Neo. It’s not just another photo editor; it’s an AI-powered assistant designed to take the heavy lifting out of post-processing so you can focus on the fun part, creating art.
At Photoguides, we believe that everyone should feel confident behind the camera and the computer. That’s why I’ve put together this beginner’s guide to help you master your workflow in Luminar Neo. Let’s dive in.
Why Luminar Neo is the Go-To in 2026
Back in the day, if you wanted to swap a dull sky for a dramatic sunset, you’d spend forty minutes meticulously painting masks and zooming in 400% to make sure the edges of the trees looked right. In 2026, we just don't have time for that.
Luminar Neo has become the premier choice for photographers because it bridges the gap between professional-grade results and beginner-friendly interfaces. It doesn't bury you in technical jargon or endless sub-menus. Instead, it uses generative AI and neural networks to understand the content of your photo. Whether you’re a pro looking to speed up your fine art workflow or a hobbyist wanting your vacation photos to pop, this is your tool.
Navigating the Interface: Simplified and Clean
One of the first things you’ll notice when you open Luminar Neo is how clean it feels. It’s organized into three main pillars: Catalog, Presets, and Edit.
- Catalog: This is where your library lives. It’s simple to navigate and keeps your shoots organized without the clutter.
- Presets: These are AI-powered starting points. When you click on a photo, the AI analyzes it and suggests "For This Photo" presets. It’s like having a professional editor peek over your shoulder and say, "Hey, I think this look would work best."
- Edit: This is the heart of the software. Tools are grouped logically into Essentials, Creative, Portrait, and Professional.
 )
)
The "Big Two" of AI Enhancement
If you only use two tools in Luminar Neo, make them these. They are the foundation of any quick workflow.
1. Enhance AI
Think of this as the "Smart Slider." Instead of juggling exposure, highlights, shadows, and contrast separately, Enhance AI (specifically the Accent AI slider) analyzes the image and applies a balanced correction across the board. It knows if it’s looking at a person or a mountain and adjusts accordingly.
2. Structure AI
In the past, adding "clarity" often resulted in ugly halos around objects. Structure AI is different. It’s human-centric, meaning it adds detail and texture to the areas that need it (like rocks, buildings, or clouds) while keeping skin tones smooth and natural.
For more deep dives into specific gear that complements this software, check out our essential photography gear section.
Transforming Your Scenes with Creative AI
This is where the magic happens. In 2026, Luminar Neo has refined its most famous tools: Sky AI and Relight AI: to be indistinguishable from reality.
Sky AI: The Ultimate Weather Fixer
We’ve all been there: you hike for miles only to find a grey, featureless sky. Sky AI allows you to replace it in one click. It even adjusts the lighting and reflections on the ground or water to match the new sky. If you need some high-quality assets to get started, you can even download sky overlays directly from our site.
Relight AI: Controlling Light Post-Capture
Relight AI maps your photo in 3D. It calculates the distance of objects from the lens, allowing you to brighten the foreground while keeping the background dark, or vice-versa. It’s like having a portable lighting kit that you only decide to use after you get home.
 )
)
Perfecting People: Portrait AI
Portrait photography used to require hours of "frequency separation" and dodging and burning. Now, Luminar Neo’s Portrait tools allow you to:
- Face AI: Brighten eyes and remove dark circles instantly.
- Skin AI: Smooth skin while retaining realistic texture (no more "plastic" looks).
- Body AI: Subtly adjust proportions if requested by a client.
It’s reassuring to know that you can produce professional-grade portraits without needing a degree in digital retouching. If you're looking for more tips on shooting, our educational category has a wealth of information to help you level up.
Cleaning Up the Mess: GenErase and GenSwap
Let’s talk about the 2026 powerhouses: Generative AI tools. Have you ever taken a perfect shot only to realize there’s a trash can or a stray tourist in the background?
GenErase doesn't just smudge the area; it replaces the unwanted object with textures that actually match the surroundings. It’s incredibly intelligent. Meanwhile, GenSwap lets you introduce new elements: like adding a bird to a landscape or a tree to a field: by simply describing what you want.
 )
)
Your Repeatable 2026 Workflow
To help you get started, here is the exact workflow I recommend for most shots. It’s fast, efficient, and yields consistent results.
- Import: Bring your photos into the Catalog.
- Develop: Start in the Edit tab with the 'Develop' tool to set your white balance and basic exposure.
- Enhance: Use Enhance AI to bring out the hidden potential of the raw file.
- Cleanup: Use GenErase or the Erase tool to remove distractions.
- Sky/Light: Use Sky AI if the weather wasn't on your side, and Relight AI to draw the viewer’s eye to the subject.
- Portrait (Optional): If there are people in the shot, apply Skin AI and Face AI for a polished look.
- Final Mood: Add a Mood (LUT) or a subtle vignette to tie the image together.
- Export: Save your masterpiece and share it with the world!
Why This Matters for You
The beauty of Luminar Neo is that it meets you where you are. If you want to spend five seconds on a photo, you can. If you want to dive deep into layers and masking, the professional tools are right there waiting for you.
Photography should be about the joy of the click and the pride of the print. When you spend less time fighting with software, you have more time to be out in the field, maybe exploring Miami’s hidden speakeasies or capturing a wedding in Atlanta.
If you're still on the fence about which gear to use before you even get to the editing stage, check out our camera reviews 2024 (and our updated 2026 takes) or visit Shut Your Aperture to join a community of photographers who are embracing this new AI frontier.
 )
)
Final Thoughts
Mastering your photography workflow in 2026 isn't about working harder; it’s about working smarter. Luminar Neo is the ultimate partner in that journey. It’s reassuring to know that even if the light wasn't perfect or a tourist walked into your frame, you have the power to fix it and still keep the soul of your photograph intact.
Ready to give it a spin? You can get started with Luminar Neo here.
Don't forget to head over to our reviews category for more in-depth looks at the latest software updates. Happy shooting, and even happier editing!


