
Category: Photo Guides
Hey there, fellow photographers. Edin here. If you’re anything like me, you probably spend a good chunk of your life chasing the perfect light, the right angle, and that split-second emotion that makes a photo come alive. But once the shoot is over and the editing is done, we all hit the same brick wall: file size.
You’ve got these stunning, high-resolution masterpieces, but they’re massive. They slow down your portfolio, they take forever to upload to client galleries, and don't even get me started on what they do to your website’s SEO. That’s exactly why I wanted to dive into a tool that’s been changing the game for me lately. Welcome to the first part of our series on Pixel-Shrink.com, the professional’s secret weapon for lightning-fast image compression.
Before we jump into the "how-to," I want to give a quick shout-out to our friends at proshoot.io for sponsoring this series. They understand the professional workflow better than anyone, and it’s their support that allows us to bring these guides to you.
Why Image Compression is No Longer Optional
In the early days of the web, we could get away with a few heavy images. Today? Not a chance. If your website takes more than three seconds to load, half of your potential clients have already clicked away. As a photographer, your website is your storefront. If the door is stuck because the "images are too heavy," you’re losing business.
But here’s the rub: as pros, we can’t afford to lose quality. We didn't spend thousands on high-end glass and sensors just to have our work look pixelated and muddy because of a poor compression algorithm. This is where Pixel-Shrink.com steps in. It’s designed specifically for those of us who need that perfect balance of "tiny file size" and "tack-sharp detail."

The Magic of Pixel-Shrink.com
What sets Pixel-Shrink apart from the dozens of other compressors out there? In a word: Efficiency. It’s built on a proprietary engine that analyzes the textures and colors of your photography to determine exactly where data can be shaved off without the human eye noticing.
Whether you are uploading a gallery for a wedding photography insight post or showcasing your latest landscape work, the goal is always the same: keep the soul of the image intact while shedding the digital weight.
1. Speed That Keeps Up With You
When you’re in the zone, the last thing you want is to wait for a progress bar. Pixel-Shrink.com uses multi-threaded processing, meaning it can handle multiple images at once without breaking a sweat. If you’ve just finished a session as an Atlanta event photographer, you might have hundreds of shots to prep. This tool handles them in seconds, not minutes.
2. Quality Preservation
Most free compressors out there are "lossy" in the worst way: they create artifacts in the shadows and banding in the gradients. Pixel-Shrink uses an advanced "smart-lossy" approach. It keeps the sharpness in the edges and the smoothness in the skies. It’s the kind of quality I trust for my own work over at Edin Fine Art.
Getting Started: A Step-by-Step Guide
Using Pixel-Shrink.com is about as intuitive as it gets. You don't need a degree in computer science to figure it out.
Step 1: Upload Your Work
Simply drag and drop your JPEGs or PNGs directly into the browser window. You can upload individual files or bulk batches.
Step 2: Choose Your Compression Level
For most web uses, the "Professional" setting is the sweet spot. It offers a massive reduction in file size (often up to 80%) while maintaining a visual fidelity that is indistinguishable from the original to the naked eye. If you’re preparing images for a deep-dive camera review, you might opt for the "High Fidelity" setting to ensure every sensor detail is preserved.
Step 3: Preview and Download
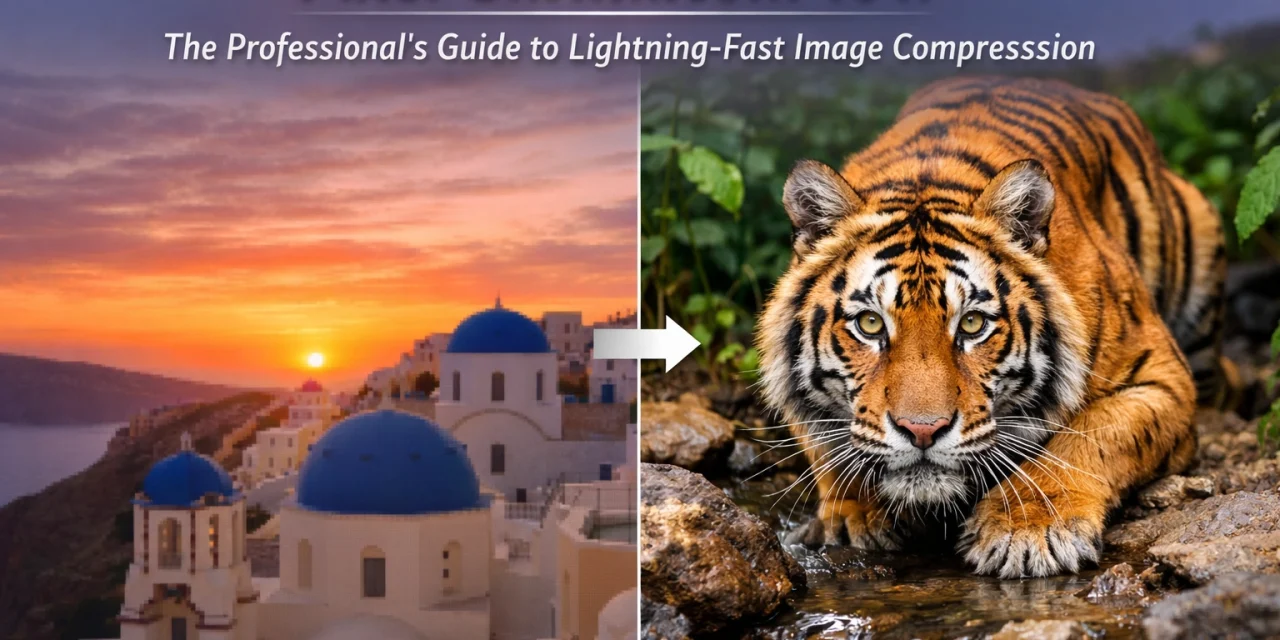
The tool gives you a side-by-side comparison. You can slide a divider across the image to see the "Before" and "After." Once you’re happy (and you will be), hit download.

Integrating Compression Into Your Workflow
I always tell my students that a good workflow is a consistent one. Compression shouldn't be an afterthought; it should be the final step of your export process.
Once I finish editing a set of images in Lightroom or Capture One, I export them at 100% quality. Then, I run them through Pixel-Shrink.com. Why? Because even the best export engines in editing software aren't as specialized as a dedicated compression tool. By separating these tasks, you ensure your masters are perfect and your web-ready versions are as lean as possible.
This is especially crucial if you’re running a blog or a resource site. For instance, over on my personal blog, I share a lot of behind-the-scenes content and travel stories. If I didn't compress those images, the site would crawl, and my SEO rankings would tank.
The SEO Impact for Photographers
Let’s talk shop for a second. Google loves speed. Core Web Vitals are a huge part of how sites are ranked now. Large images are the #1 culprit for "Largest Contentful Paint" issues. By using Pixel-Shrink.com, you aren't just making your site feel faster for users; you’re literally telling search engines that your site is high-quality and well-maintained.
If you are looking to grow your business: perhaps by offering a better photography booking experience: every millisecond of load time counts. A fast site builds trust. A slow site builds frustration.

Pro Tips for Maximum Efficiency
If you want to really master Pixel-Shrink.com, here are a few things I’ve learned:
- Batch Processing is King: Don't do one by one. Group your images by type (e.g., all portraits in one batch, all landscapes in another). This helps you keep a consistent look across the gallery.
- Don't Forget Metadata: One of the cool things about Pixel-Shrink is that you can choose to strip or keep your EXIF data. For copyright reasons, I usually keep mine in, but stripping it can save a few extra kilobytes if you're really pinching pennies on file size.
- Test Your Layouts: Sometimes an image with a lot of "noise" (like a grain effect you added in post) needs a lighter touch with compression. Always use the preview slider to make sure your intentional grain hasn't turned into "mush."
Real-World Results
I recently used Pixel-Shrink for a project involving a lot of high-detail architectural shots. These images were destined for a guide on restaurants in downtown Golden. The original folder was nearly 400MB. After a quick pass through the tool, it was down to 65MB. The visual difference? Zero. The load time difference? Night and day.
It’s that kind of reliability that makes me recommend this tool to everyone from hobbyists to seasoned pros. When you know your work is going to look great regardless of the device it's viewed on, it gives you a certain peace of mind.

Reassuring Quality for Your Clients
At the end of the day, our clients pay us for our vision and our professional standards. When you deliver a gallery that is easy to download and quick to view, it reflects well on you. No client wants to sit and wait for a 20MB file to preview on their phone while they are out at breakfast places in Cape Coral showing off their photos to friends.
Pixel-Shrink.com ensures that your delivery is as professional as your shoot. It’s about respect for the client’s time and their device’s storage.
Final Thoughts
We’re just scratching the surface with this tool. Over the next eight posts in this series, we’re going to dive deeper into specific use cases: like optimizing for social media, preparing images for mobile apps, and even how to handle compression for print-ready files when bandwidth is an issue.
Photography is a journey of constant learning. From choosing the essential photography gear to mastering the final export, every step matters. Pixel-Shrink.com is now a permanent part of my toolkit, and I think once you try it, it’ll be part of yours too.
Stay tuned for part two, where we’ll talk about "The Science of Lossy vs. Lossless: What Photographers Actually Need to Know."
Until then, keep shooting and keep shrinking!
: Edin


