
Category: Photo Guides
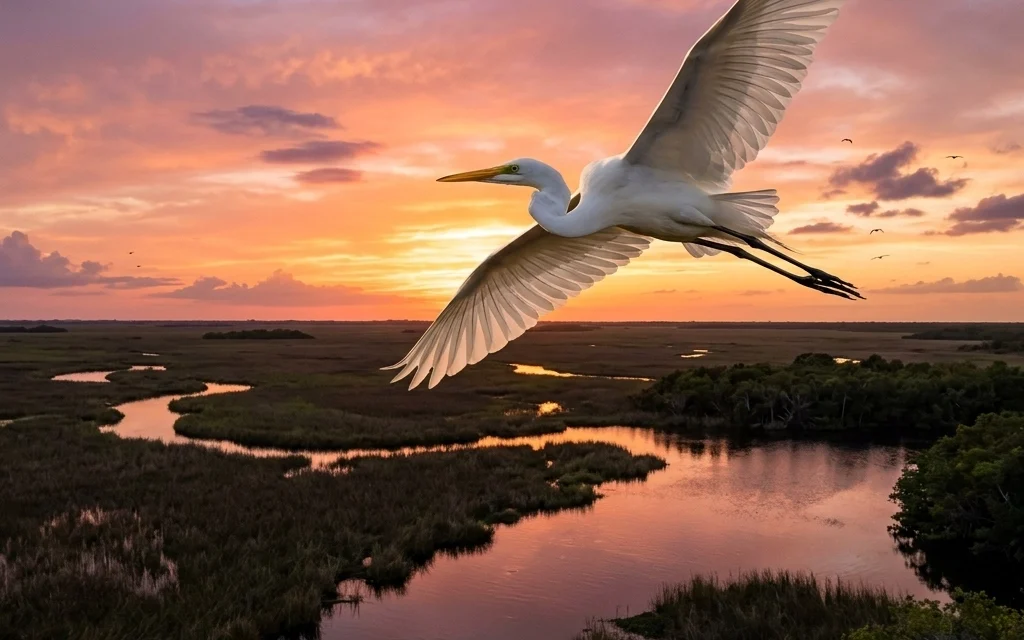
There is something truly mystical about the Everglades. If you’ve never been, imagine a vast, slow-moving "River of Grass" that stretches toward the horizon, punctuated by the prehistoric calls of Great Blue Herons and the silent, watchful eyes of alligators. For a photographer, it isn’t just a park; it’s a masterclass in nature’s raw beauty.
The Everglades is widely considered the premier destination for bird photography in North America. With over 360 bird species calling this ecosystem home, the opportunities are endless. But as any pro will tell you, showing up with a camera isn't enough. To truly succeed here, you need to understand the rhythm of the swamp, the behavior of your subjects, and the technical settings that turn a "snapshot" into a piece of fine art.
If you’re looking to skip the learning curve and go straight to the best spots with the best settings, I highly recommend picking up our Everglades Photography Guide. It’s the culmination of years spent in the field, designed to get you the shots you’ve always dreamed of.
Why the Everglades?
Unlike many other wildlife hotspots where birds are skittish and keep their distance, the Everglades offers an intimacy that is hard to find elsewhere. In places like the Anhinga Trail, the birds have grown accustomed to human presence. They’ll often land just a few feet away, allowing you to capture incredible detail without needing a telescope-sized lens.
Whether you are looking for the vibrant pink of a Roseate Spoonbill or the intense gaze of an Osprey, the Everglades delivers. But because the environment is so unique: think high humidity, harsh midday sun, and dense foliage: you need a solid plan.

Gear: What You Actually Need
When it comes to gear, there’s a balance between being prepared and being weighed down. I’ve seen people lugging 30 pounds of gear through the humidity only to realize they’re too exhausted to wait for the light.
The "Golden" Lens
For bird photography, reach is everything. I generally recommend a 200-600mm or a 150-600mm zoom lens. This range is the "sweet spot" for the Everglades. It gives you the reach to capture a Red-shouldered Hawk high in a Cypress tree, but the flexibility to zoom out when a Wood Stork decides to land right in front of you.
If you’re just starting to build your kit, you can check out some of our essential photography gear recommendations to see what we trust in the field.
Don't Forget the Wide Angle
It’s easy to get "tunnel vision" and only focus on tight portraits. However, the Everglades landscape is stunning. A 16-35mm lens is perfect for those "bird-in-landscape" shots where you capture the vastness of the sawgrass prairie with a soaring Snail Kite in the corner of the frame. This tells a much more powerful story than a tight headshot alone.
Support Systems
A tripod with a gimbal head is the gold standard for stability, but in the Everglades, I often prefer a sturdy monopod. It’s lighter, easier to carry on narrow boardwalks, and allows for much quicker movement when a bird suddenly takes flight.
Mastering Your Camera Settings
Modern cameras are incredible, but they aren’t mind-readers. You have to tell the camera what to prioritize.
Shutter Speed is King
For birds in flight (BIF), you cannot afford to be slow. I never drop below 1/2000s for flying birds. If the sun is out and the light is hitting those white feathers of a Great Egret, push it to 1/3200s or even 1/4000s. This freezes the motion of the wingtips and ensures the eye is tack-sharp. For more on technical mastery, browse our educational photography section.
Aperture and ISO
Shoot wide open (f/4 or f/5.6). This helps isolate the bird from the sometimes messy, "busy" background of the swamp. Don’t be afraid of high ISO. In the early morning or under the canopy of Mahogany Hammock, you might need to push your ISO to 800, 1600, or even higher. It’s much better to have a slightly grainy photo that is sharp than a "clean" photo that is blurry.
Bird Eye AF
If your camera has Bird Eye Autofocus, use it! It’s been a game-changer for the industry. It allows you to focus less on moving your focus point and more on your composition and timing. You can find more discussions on the latest tech at Shut Your Aperture.

Prime Locations for Birding
The Everglades is massive, covering over 1.5 million acres. You can’t see it all in a day, so you have to be strategic.
1. Anhinga Trail
This is the legendary spot. Located near the Royal Palm Visitor Center, it’s a boardwalk that puts you right over the water. You’ll see Anhingas drying their wings, Purple Gallinules walking on lily pads, and more alligators than you can count. It’s the best place for beginners because the birds are so "tame."
2. Mahogany Hammock
This is a darker, more forested area. It’s great for owls and songbirds. The lighting here can be tricky, so it’s a great place to practice your low-light photography skills.
3. Eco Pond and Flamingo
Located at the very end of the park road, Flamingo is where the swamp meets the saltwater. This is the place for Ospreys, Eagles, and the iconic Roseate Spoonbill. The mudflats at low tide are a goldmine for wading birds.
To get the exact GPS coordinates and "secret" timings for these spots, the Everglades Photography Guide is an invaluable resource.
Pro Techniques for Better Images
Get Low
The biggest mistake I see photographers make is shooting from eye level (human eye level). If a bird is on the ground or in the water, get as low as you can. Shooting at the bird's eye level creates an intimate connection and makes the background blur (bokeh) look much smoother.
Watch the Light
In the Everglades, the sun is your best friend and your worst enemy. Always try to keep the sun at your back. This "front-lights" the bird, filling in the shadows under the wings and making the colors pop. If you’re looking for something more artistic, try side-lighting during the "Golden Hour" to emphasize the texture of the feathers. You can see examples of this high-end lighting in my fine art collection at Edin Fine Art.

Timing is Everything
The Everglades has two seasons: Wet and Dry.
- The Dry Season (December – April): This is the best time for bird photography. As the water levels in the marsh drop, the fish are concentrated into smaller pools. This creates a literal "all-you-can-eat" buffet for the birds, drawing them in by the thousands.
- The Wet Season (May – November): It’s hot, buggy, and the birds are more dispersed. However, the afternoon thunderstorms create incredibly dramatic skies that are perfect for landscape photography.
Regardless of the season, sunrise is the magic window. The birds are most active, the light is soft, and the park is quiet.
Respect the Wildlife
As a photographer, your first priority should always be the well-being of the animal. Never flush a bird (scare it into flight) just to get a shot. If a bird looks stressed or stops its natural behavior because of your presence, you’re too close. Use your zoom lens and give them space. This isn't just about ethics; it's about getting better photos. A relaxed bird will preen, hunt, and interact with its environment, giving you much more interesting shots than a bird that is staring at you in fear.

Conclusion
Everglades bird photography is a rewarding challenge that will test your patience and your gear. But when that Great Blue Heron strikes a pose in the morning mist, and you click the shutter knowing you nailed the focus: there’s no feeling like it.
If you’re planning a trip and want to make sure you don't miss the highlights, grab the Everglades Photography Guide. It’s designed to help you navigate the park like a pro, ensuring you spend less time driving and more time shooting.
For more tips on wildlife and travel, keep exploring Photoguides. See you out in the swamp!


